|
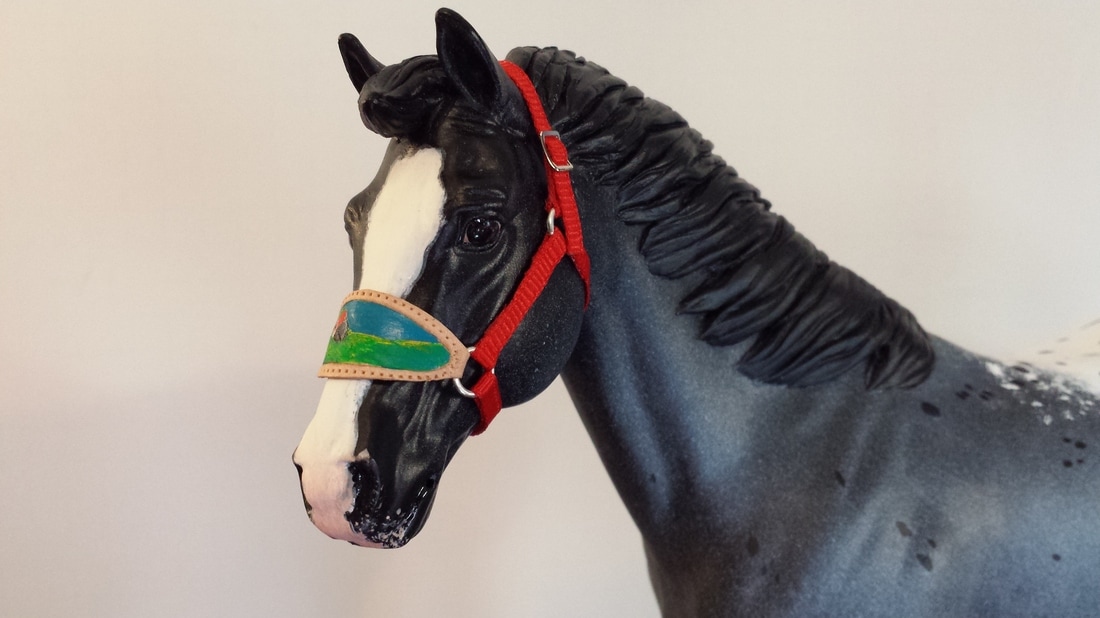
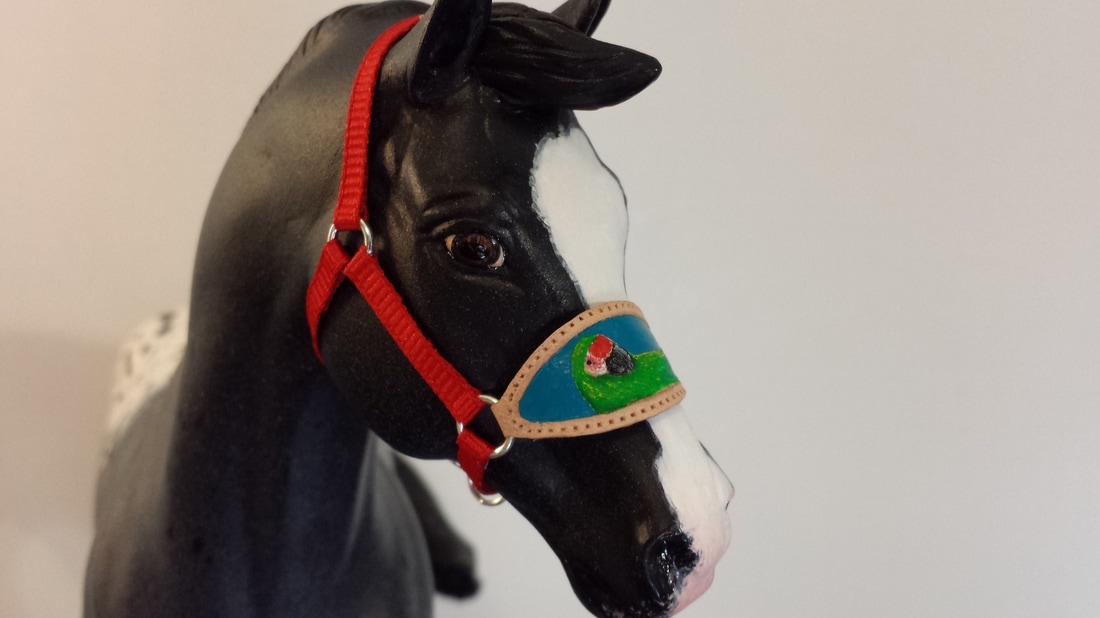
This part will be all about application and technique. I'll be describing both my painting and some of my tooling methods. For this tutorial, I'll be making a noseband for a bronc halter. I always start with a nice piece of leather. I use tooling leather I bought from Tandy. The thinner and smoother, the better. Going to the actual store and checking out hides for yourself is always the best. Since I'm making a noseband, I was able to use a small scrap. 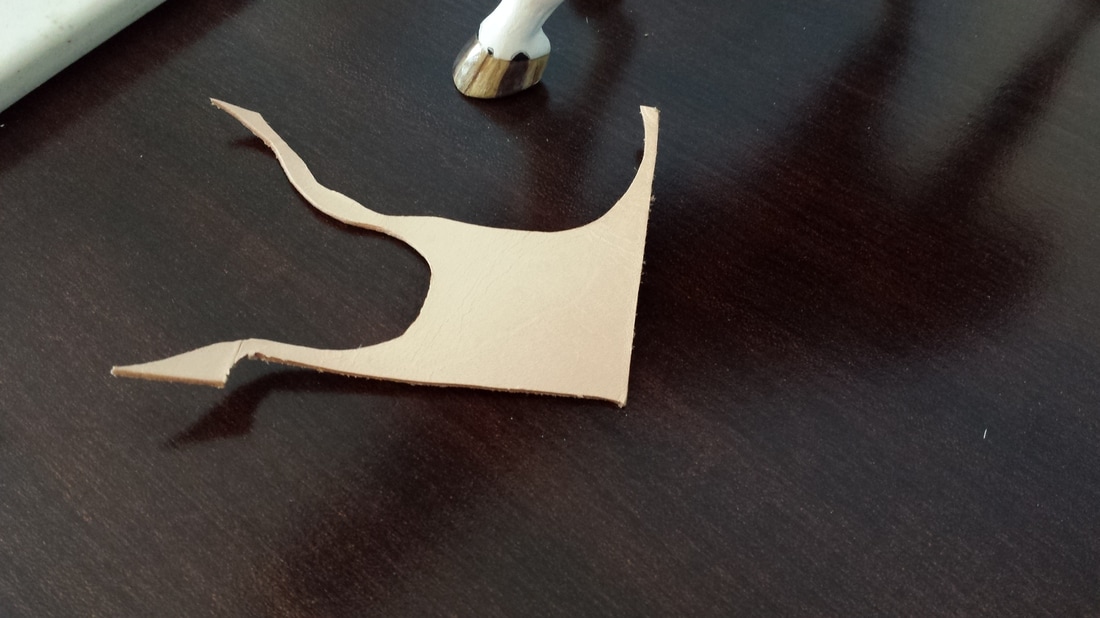 I start by tracing my pattern on the back of the leather. I use whatever is handy, but it's generally best not to use something too dark in case it shows in the final product. I try to use pencil if possible. 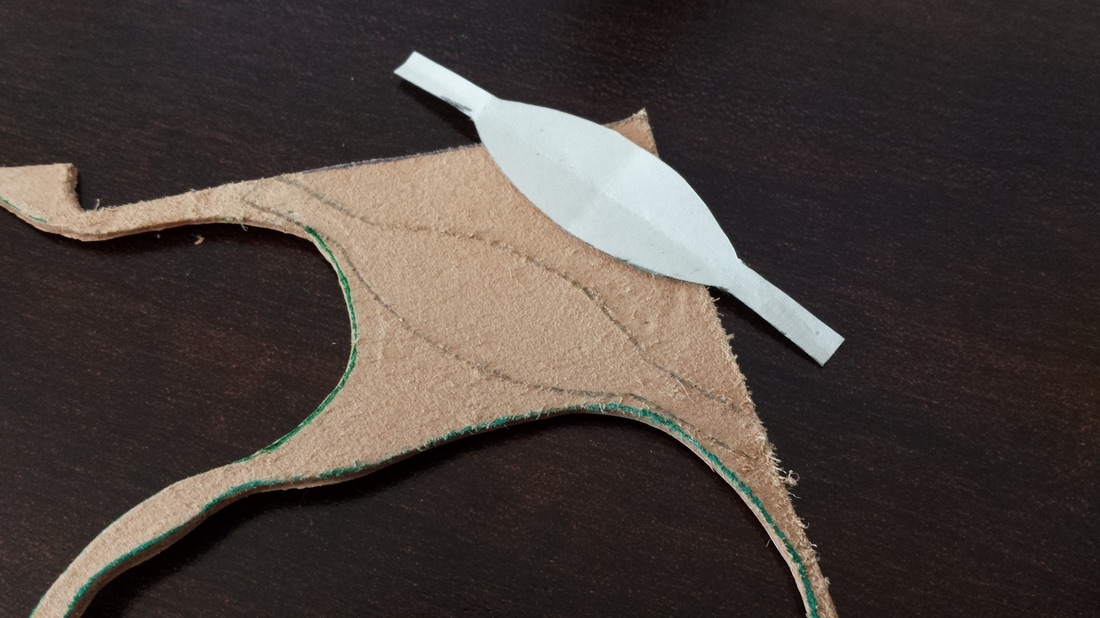 Once traced, I cut it out with a pair of sharp scissors. One of the bonuses of cutting from the back is that the scissors will naturally leave a beveled edge. If there are areas that come to an abrupt corner, you'll want to cut with a knife or you may end up denting the top layer trying to reach the corner. 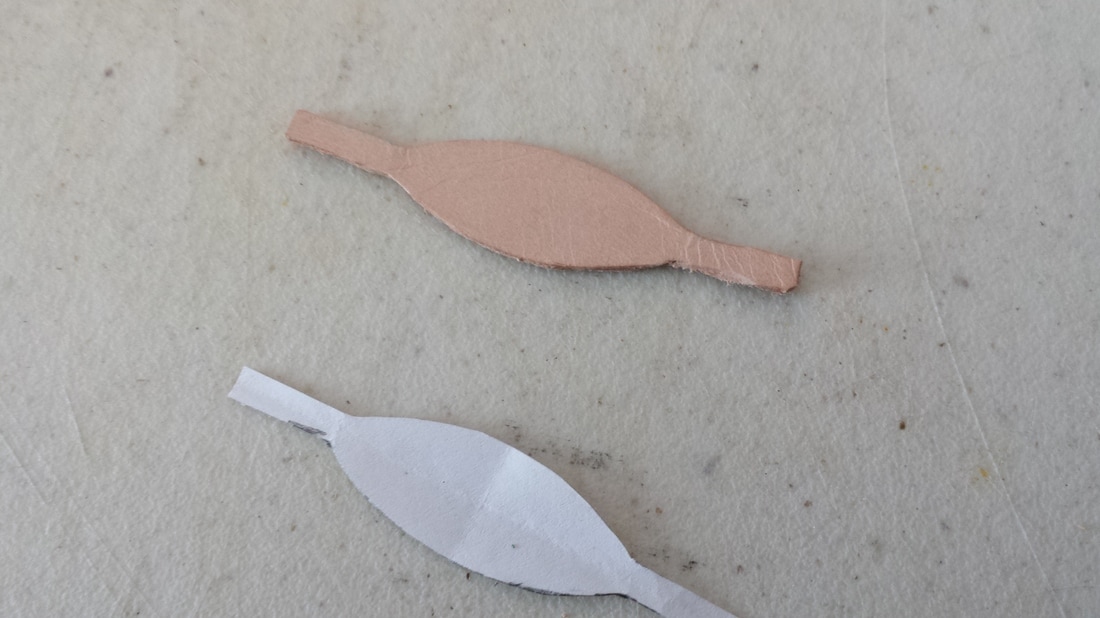 My leather was still a bit thick, so I used my craft knife to skive it by carefully skinning some of the back layers of the leather. I did this over and over until I had the correct thickness to bend over my horses nose. Also go over the strap section multiple times and bend them as if you were to attach to a halter now. The straps should easily sit pretty flat. 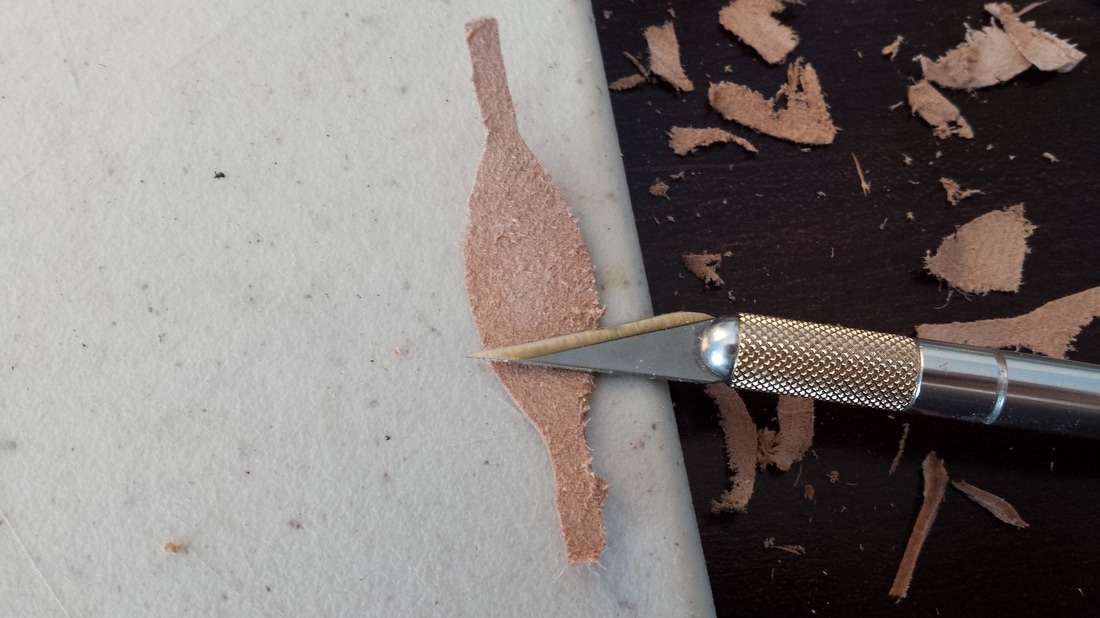 You now need a pattern to trace on top of your leather. This is what will be painted and carved later. It needs to fit just right over your leather. Anything you want in the final product should be here. 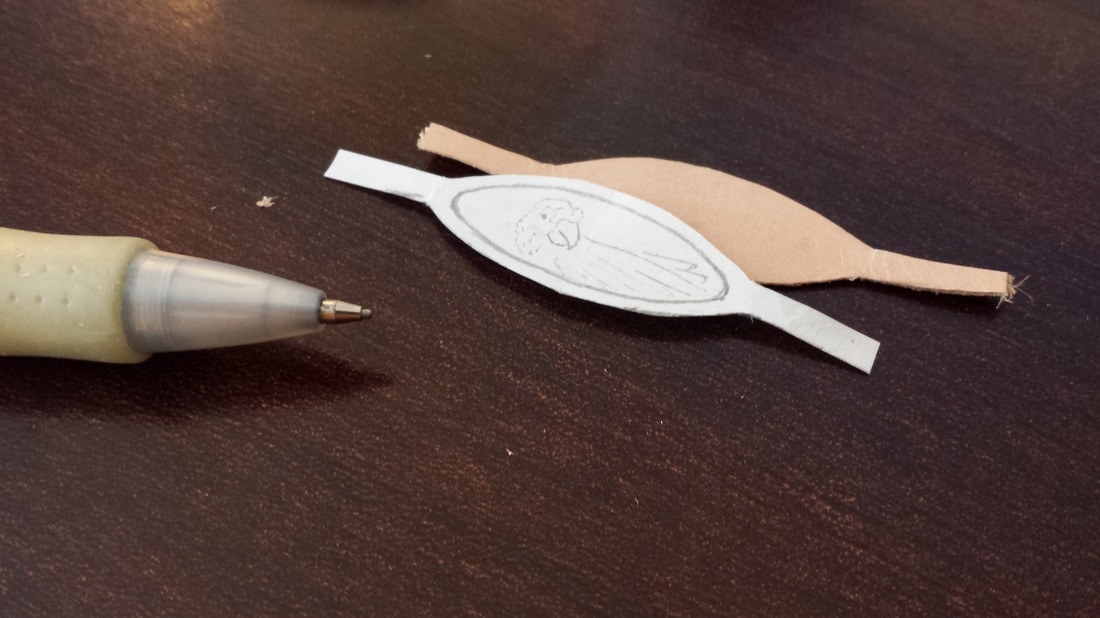 The leather is lightly dampened with a bit of water and a blunt tool such as a dull pencil, ball point pen, or embossing tool is used to trace it out. If your tracer is too sharp, you may end up ripping through the damp paper and possibly getting ink on your leather. I used a .9 mechanical pencil because I still wanted to be able to have some more crisp detail, but it's not too pointy. 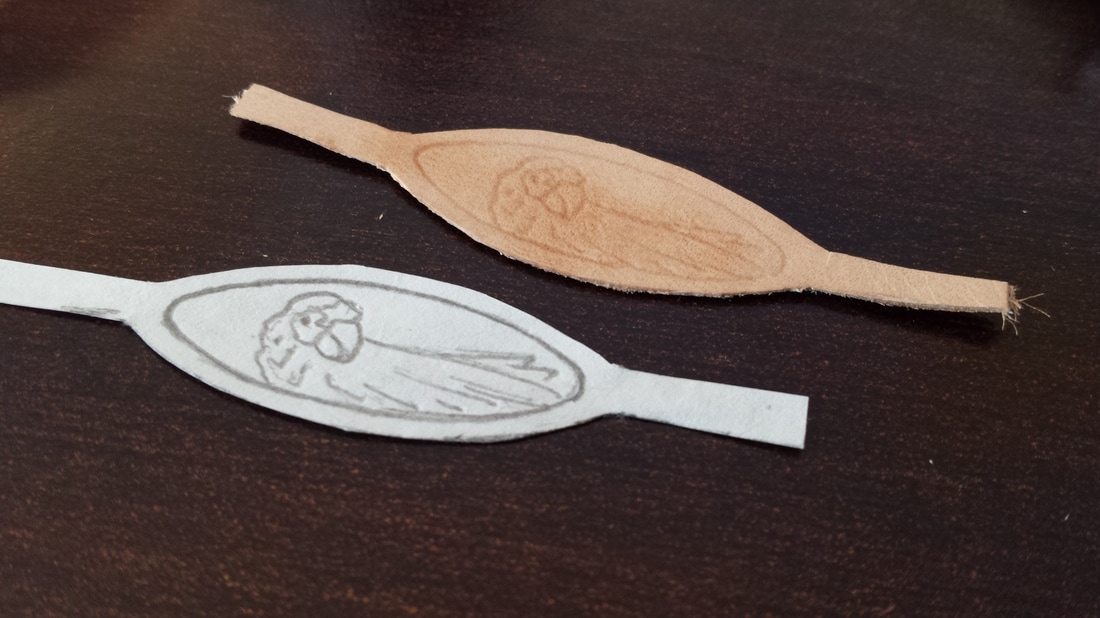 I use the carving knife to go over all designs. You want to hold it straight up and apply an even pressure. If you feel you're pushing to carve, dampen your leather again as it may have dried out. Any areas hard to reach should be carved with a craft knife to avoid accidental cuts. Always very carefully watch where you place your knife. Accidental cuts are a pain as they tend to be hard to cover up. For long carvings, one long smooth cut tends to be the cleanest. With little detail cuts, slightly wispy motions may be necessary. 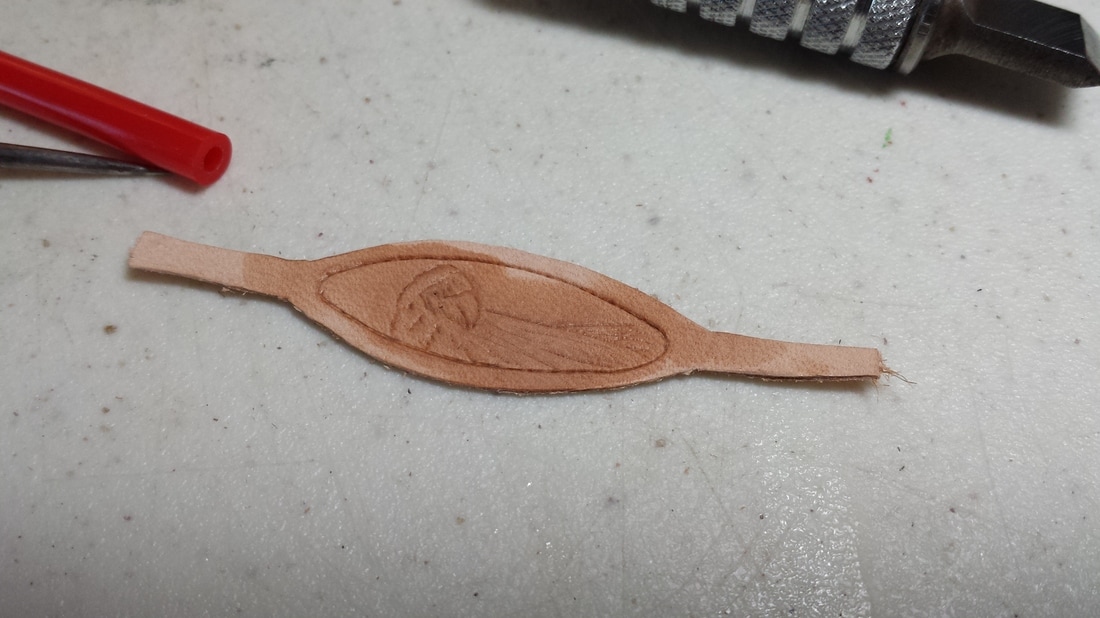 Now that all lines have been made, I go over it with my embossing tool, awl and B197. I simply smoosh the leather around to help make designs pop up. In this case, I go around the outside of the bird and inside of the border. You can either use a hammer to gently stamp around the edges, or use your hand and push down decently hard. I always like to test on scrap leather to get a feel for what I'm doing. I used my embossing tool to press down around the feathers. 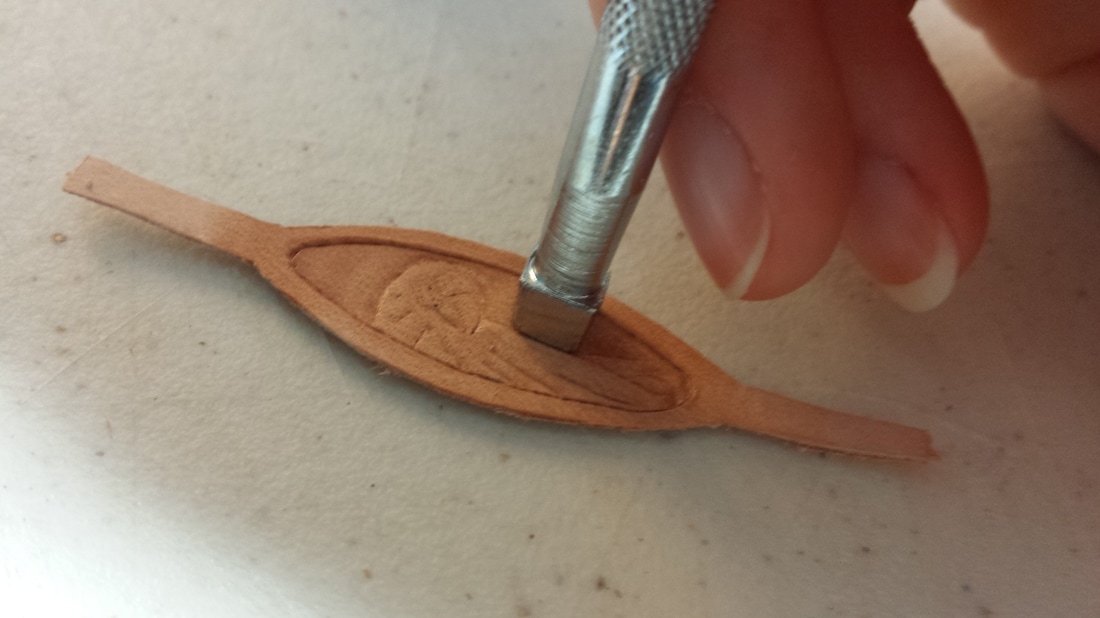 Once completely happy with your design, you'll want to dampen again and use your pounce wheel to create a stitched edge. Go slow and watch very carefully. You don't want to accidentally roll off an edge. 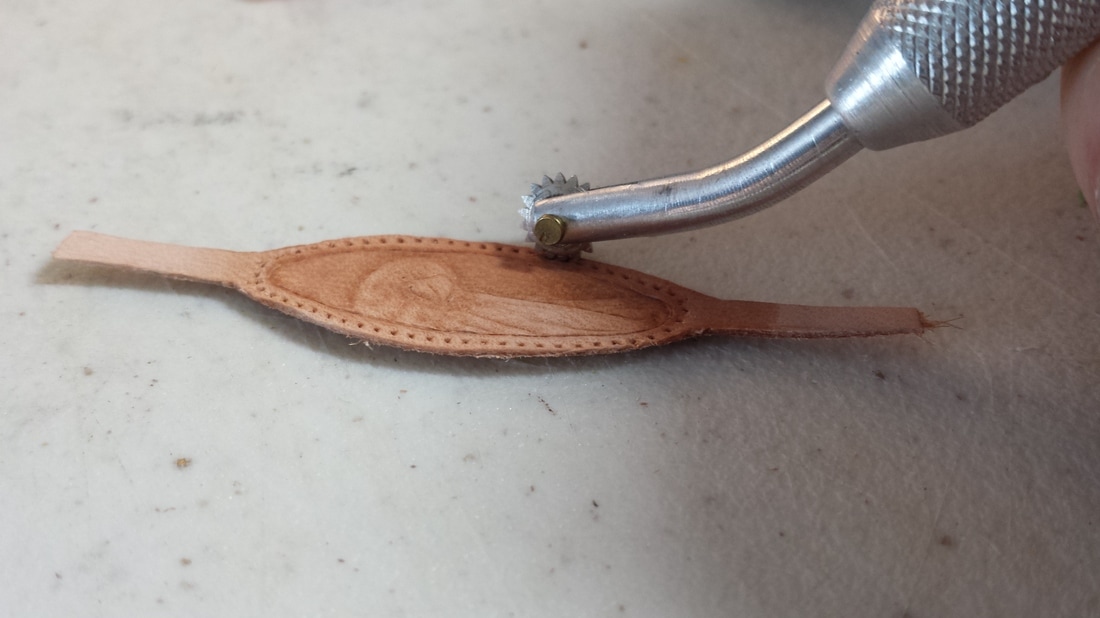 After your leather has been allowed to thoroughly dry, you can start going in with your paints. I started filling in the background with my blue Fiebing's paint. I use my tiny brush and a toothpick and magnifying headset to keep complete control over my paint. 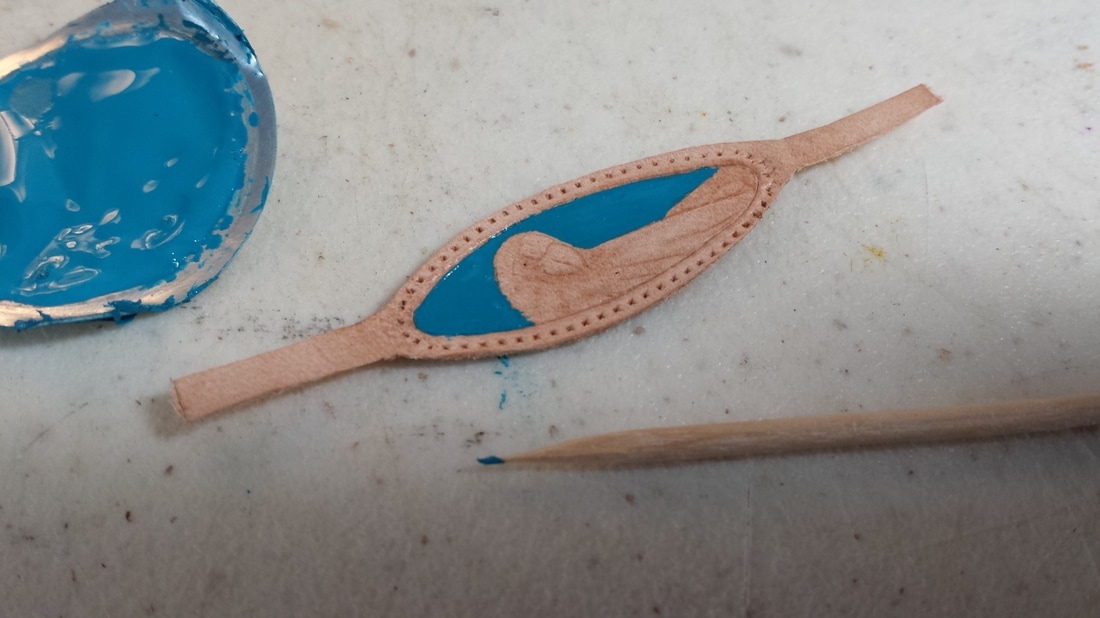 The majority of my bird is filled in with my neon green Angelus paint, still using the baby brush, toothpick and headset. As my paint dried, I was able to create some texture as it thickened. 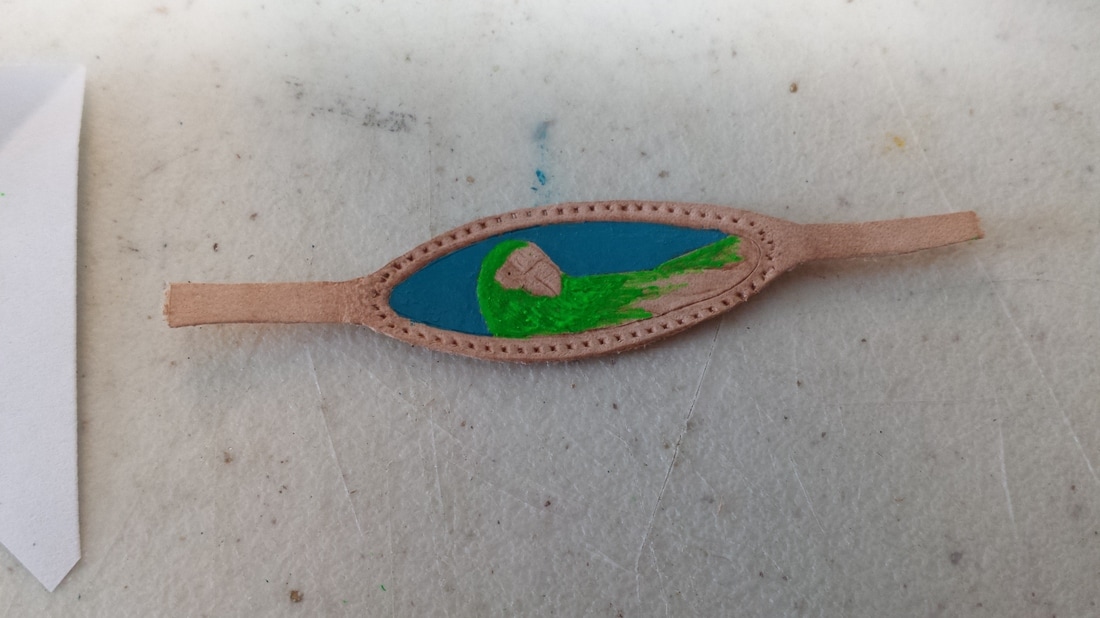 I started to work back and forth between neon green and my blue to create a blended tail. I laid down blue, and mixed in green over and over until I liked what I had. Take your time. Brushes are best for the blending as opposed to the toothpick, especially as paint begins to thicken. 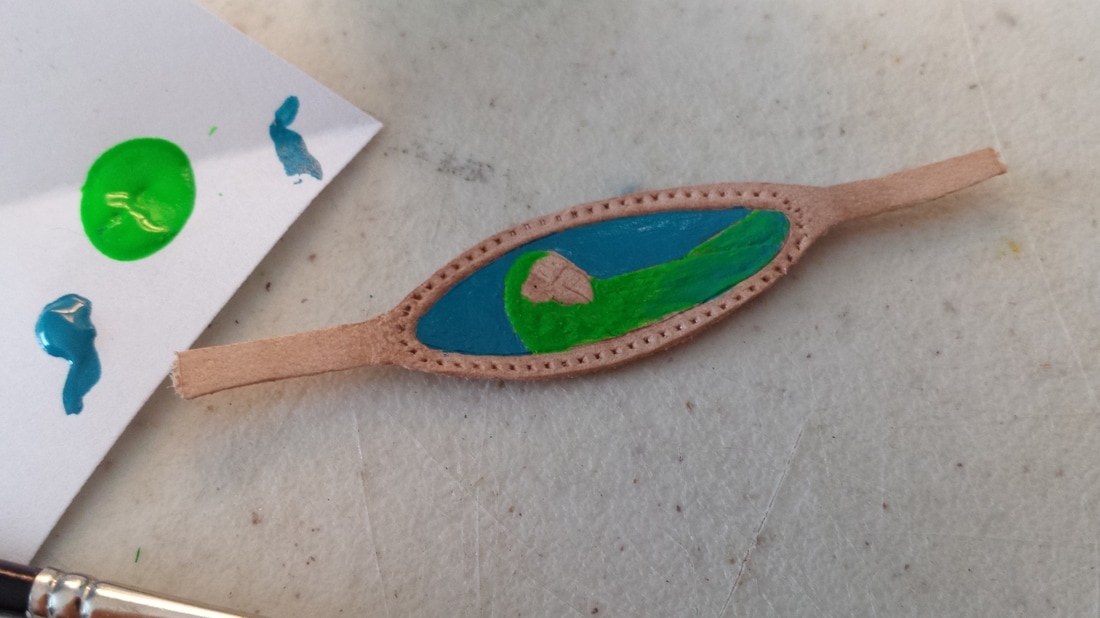 Now I've shaded the bottom of my bird with a touch of Thicket green acrylic paint and also mixed in some nice bright yellow. This started pretty ugly, but I kept working back and forth between neon green, yellow and thicket until I found a nice balance. 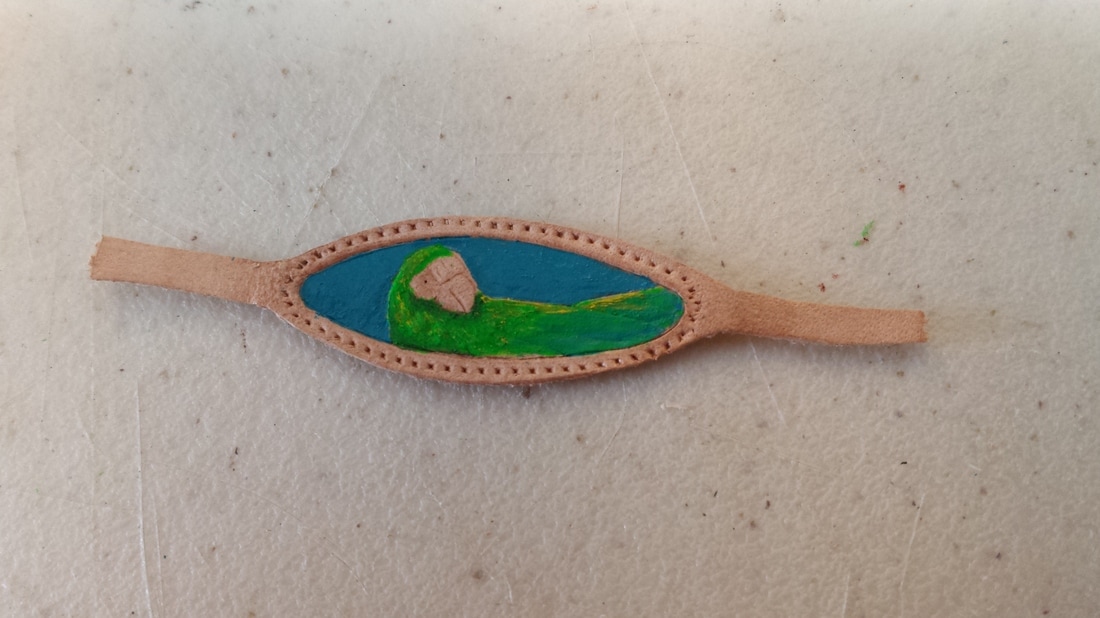 I used a toothpick to paint the red feathers above the beak. It felt a bit too dark, so I mixed some neon orange into the top to add some texture and depth. The area around the eye was done with a stippling motion. I placed some red, then some white. I worked between both, continuing to stipple, until I had a nice pattern. 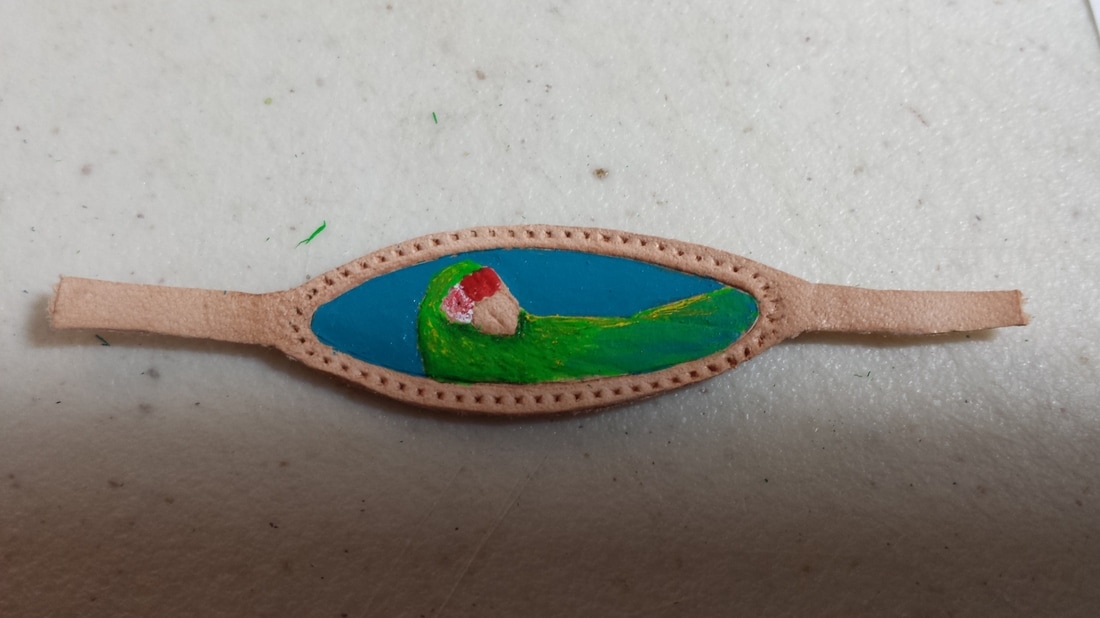 The beak was also another area that started pretty ugly. I painted it solid metallic black, then put white over the top edge. I used the same technique as with the green/yellow/thicket and green/blue feathers. I went back and forth with my paint brush to give it depth. I also gave him an eye with my toothpick. 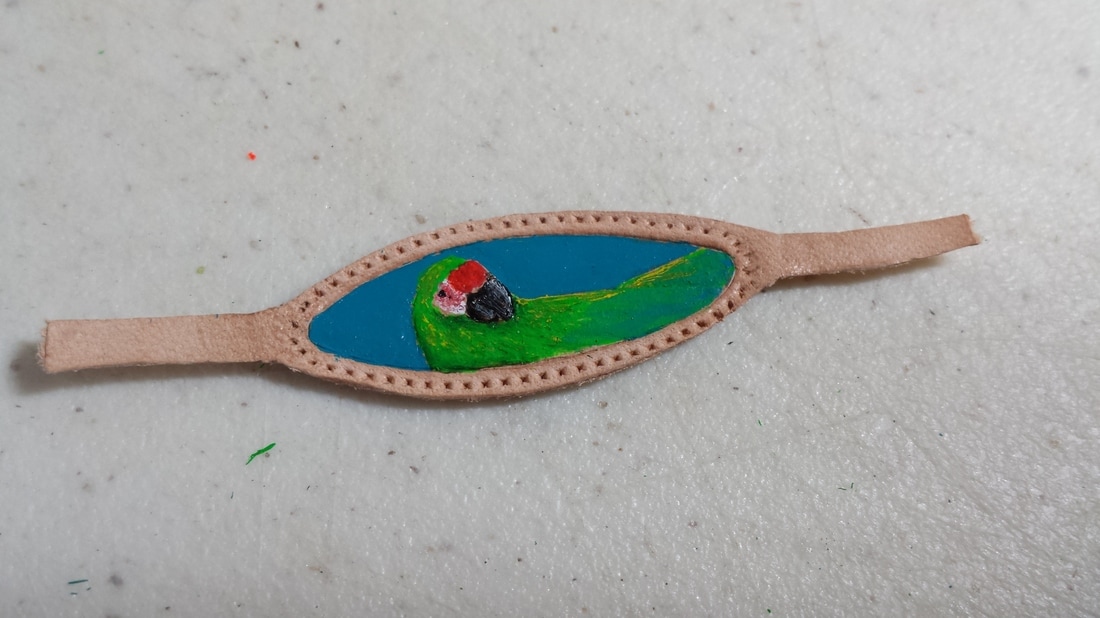 Once thoroughly dried, I went over it all with a super soft sock with some Satin Shene. I applied a little bit of Gum Tragacanth along the edges as well to help cure the fuzzies. 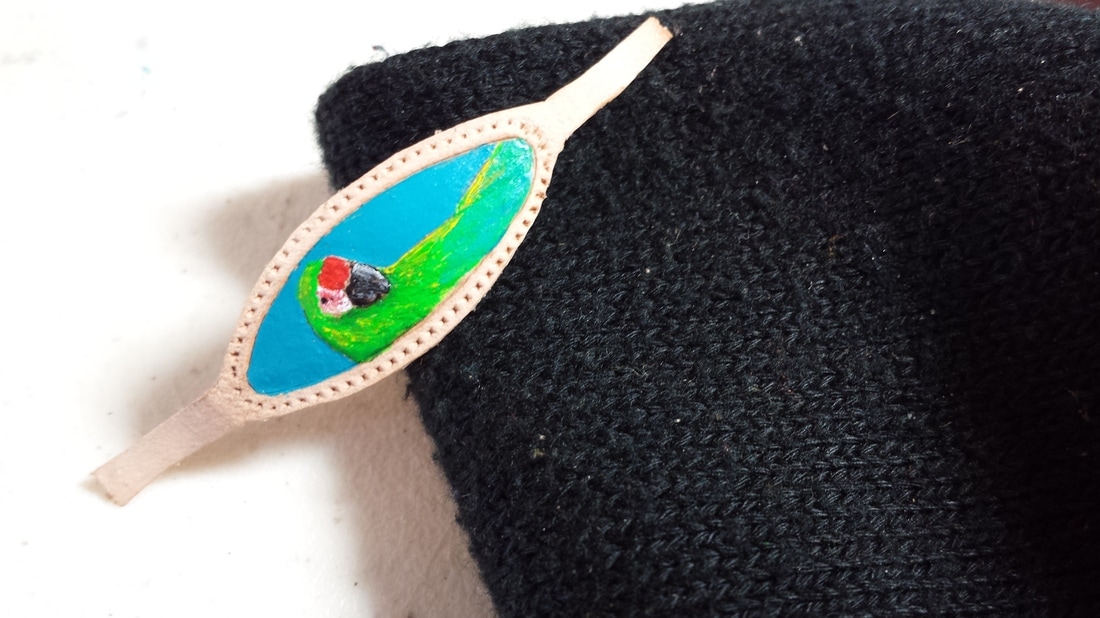 Now you're done! You should have something that looks like this: 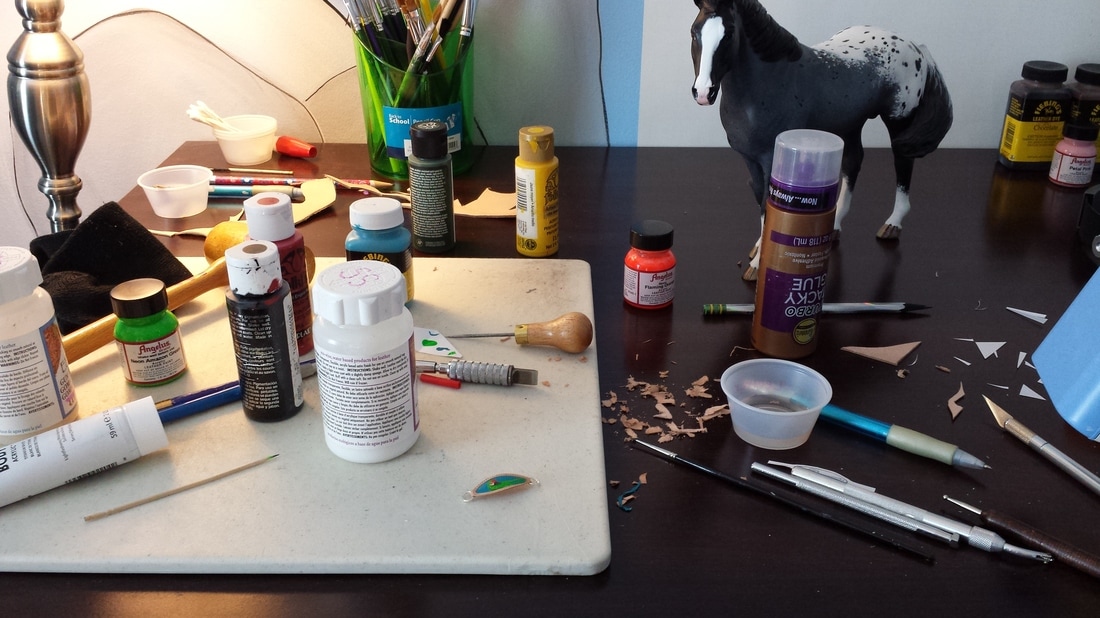 And this too :)
And now we're done! I really do hope you guys found this helpful. If you have any questions at all, don't hesitate to contact me and ask :) If there's anything else you'd like me to create a tutorial on, let me know!
This halter is also for sale. I'm asking $30 + shipping for it. Please let me know if you're interested. Thanks!
2 Comments
Beautiful, painted western sets are always something I’ve loved. The pop of bright colors are so much fun, and I couldn’t help but try my own. After experimenting a bit, I’ve been able to find what works for me. I can’t guarantee this will work for everyone, as it is very experimental, but this should be a start. Have fun with it! 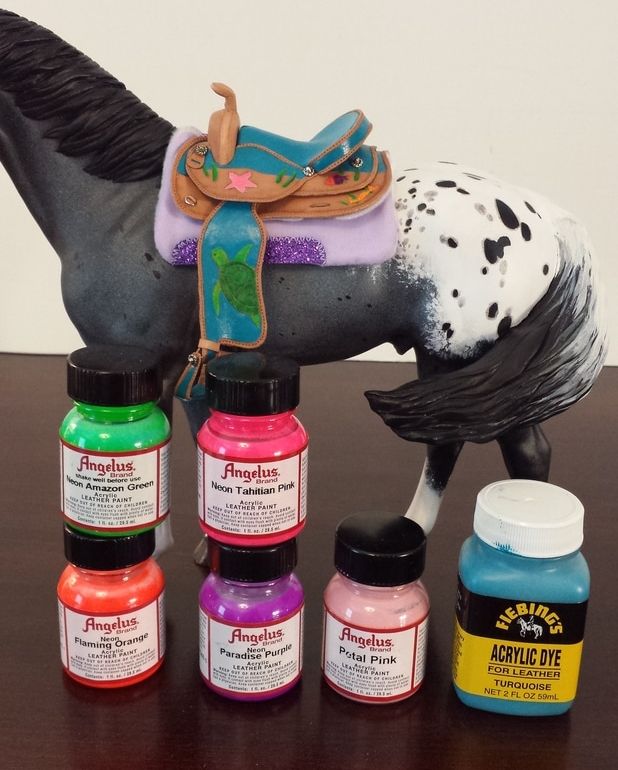 As far as paints go, my go-to paint is Fiebing’s Acrylic Leather Paint. They are incredibly smooth with a perfect, rubbery finish. It’s also a bit glossy. Even though they are a touch more expensive, they're perfect for everything from detailing mini fish, to covering entire seats and knee pads on saddles. I also prefer Fiebing's line of regular leather dyes. 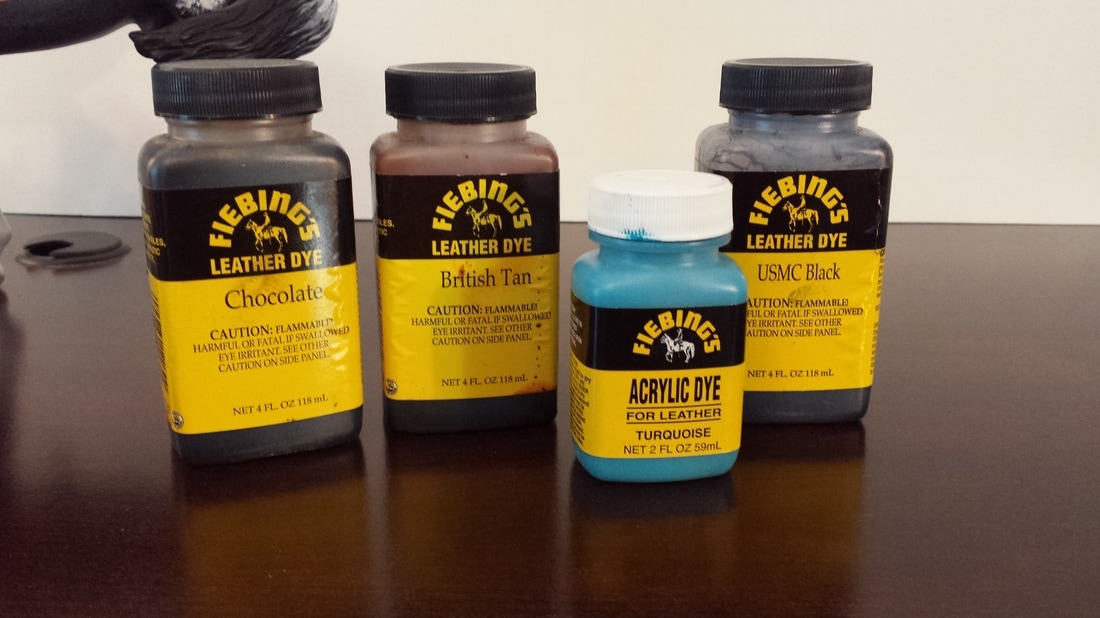 My second choice is Angelus Acrylic Leather Paint. I’ve used both neon and regular and do find there’s quite a difference. The regular comes out rather similar to Fiebing’s. I do find it takes a few more coats, and it’s not quite as glossy smooth, but it’s still a similar end result. It’s cheaper and they have a huge range of colors. 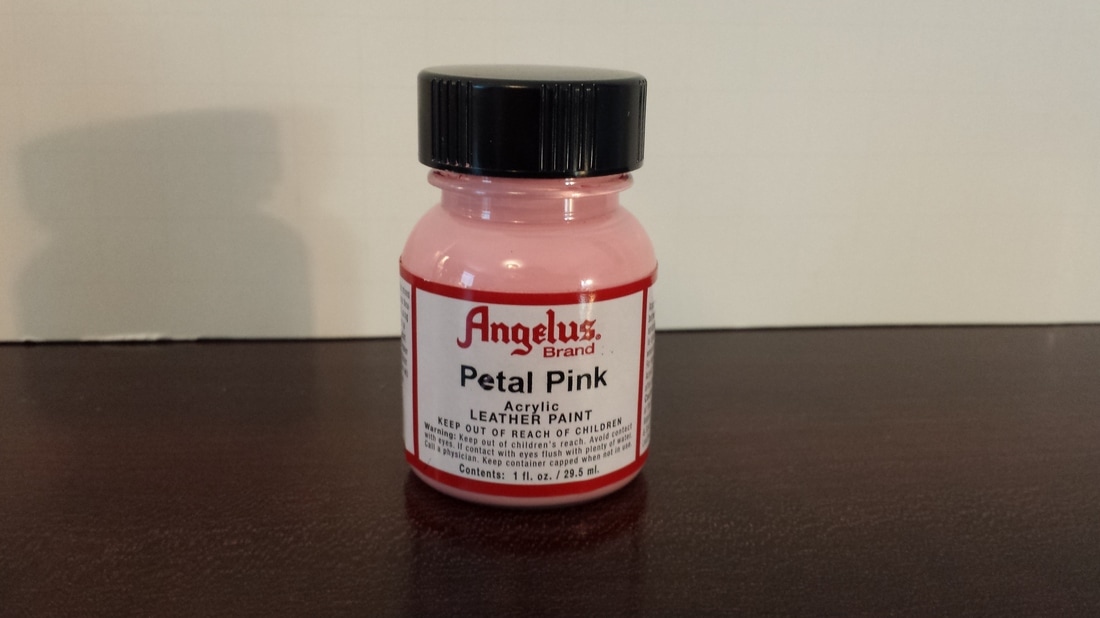 Their neon paints are a completely different story. While very fun, they are a bit of a pain when it comes to larger areas. It takes many long coats and tends to come out chalky. However, they add the perfect pop of color when it comes to mini details. I find these to be worth the struggle as they are truly neon. 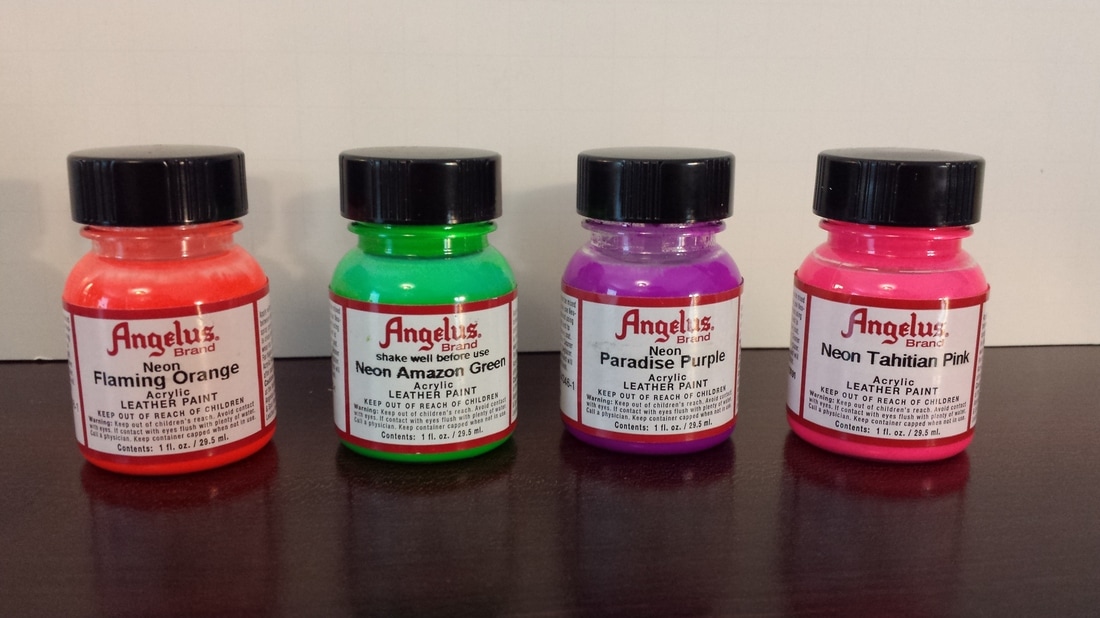 Regular acrylic paint is also a plausible option. I have always used Folkart’s paints, but I really don’t know how much of a difference it makes on leather. Anything should work. They tend to be not nearly as vibrant. They do soak in a bit instead of keeping the pigment on top. I like to use these to highlight and create shadows on already painted areas. That keeps the paint from soaking in since the leather paint creates a nice seal. If I only need that specific color once or I can't find it in Leather Paint, I'll go with regular acrylic. I would refrain from painting large areas with these as I can see them flaking and cracking over time. 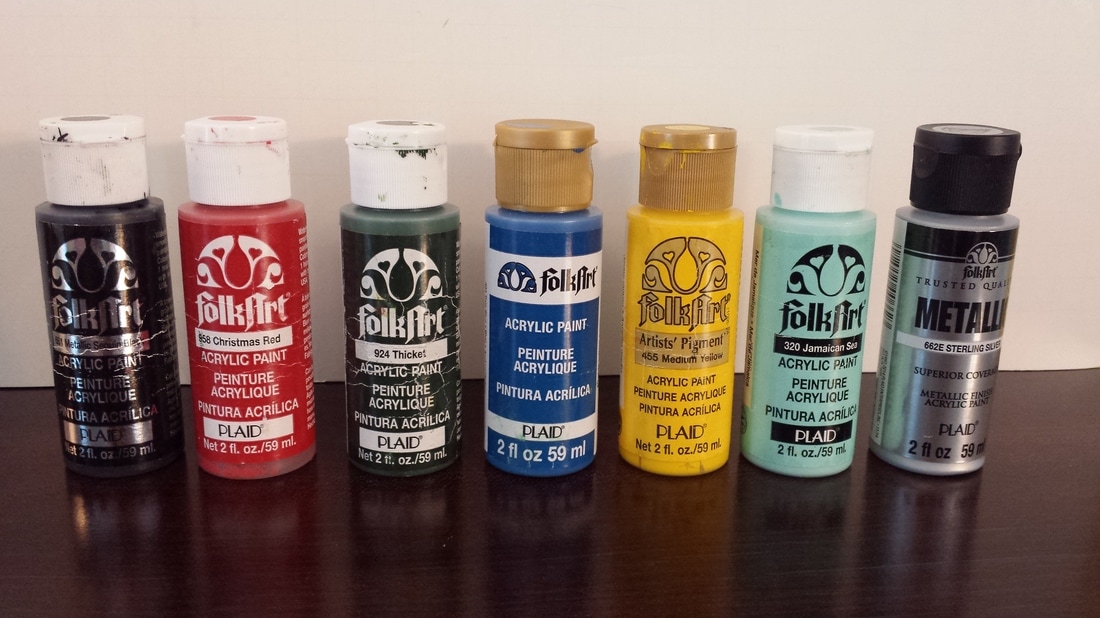 Any paint you use will last a long time, so the price shouldn't be too much of a problem. Once the paint has been allowed to dry thoroughly, I always use a soft rag to apply a layer of Eco Flo finish. I have their Satin Sheen, as shown on the right, but I've heard their glossy finishes are also nice. Even though the leather paints tend to feel pretty solid and waterproof, I like to protect my work and avoid any paint from rubbing off on my model. I then use Gum Tragacanth, on the left, to smooth all the edges and the back of my leather pieces. You can see I've labelled the top of each bottle to make it easier to find the one I want. 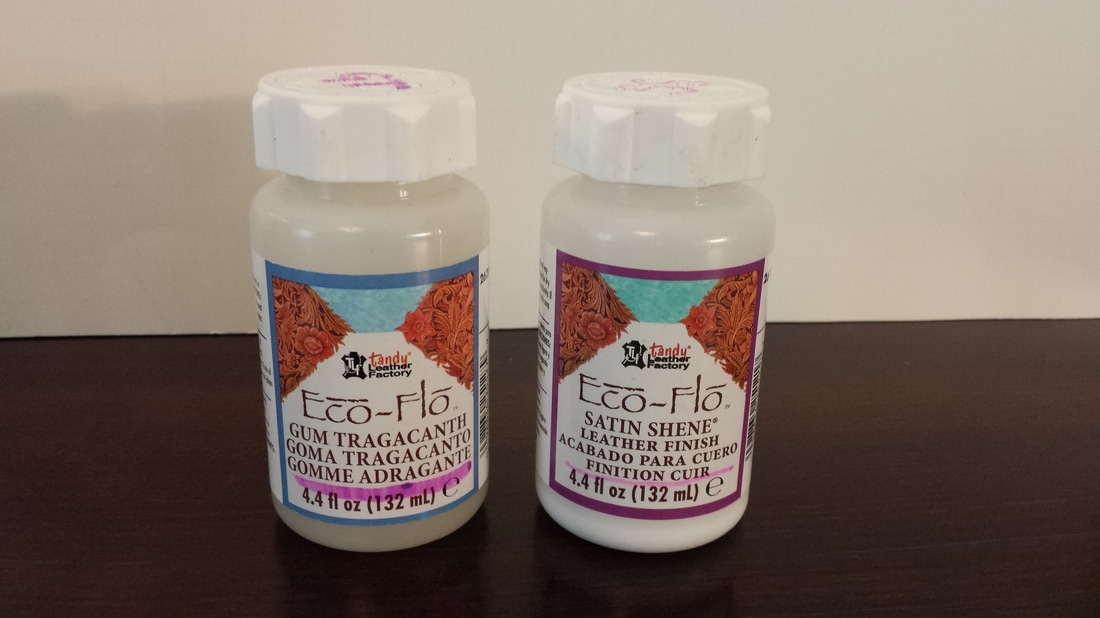 For tools, I won't go too in depth, but I'll list general purpose and type. Scissors and a sharp craft knife are always a must! 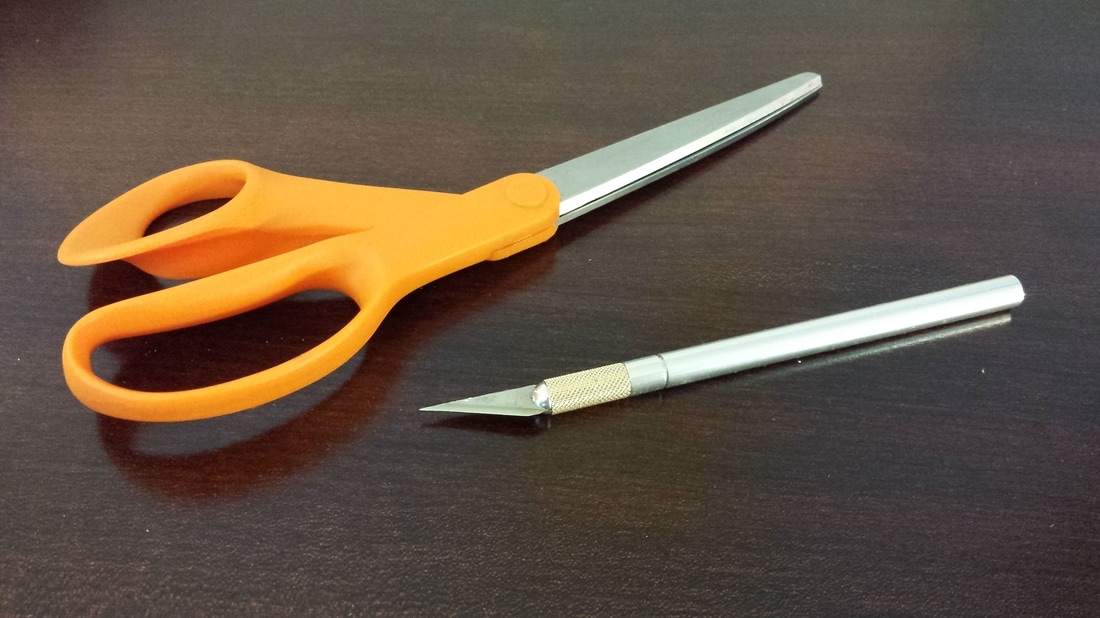 A pounce wheel or another similar tool can be used to create stitch marks 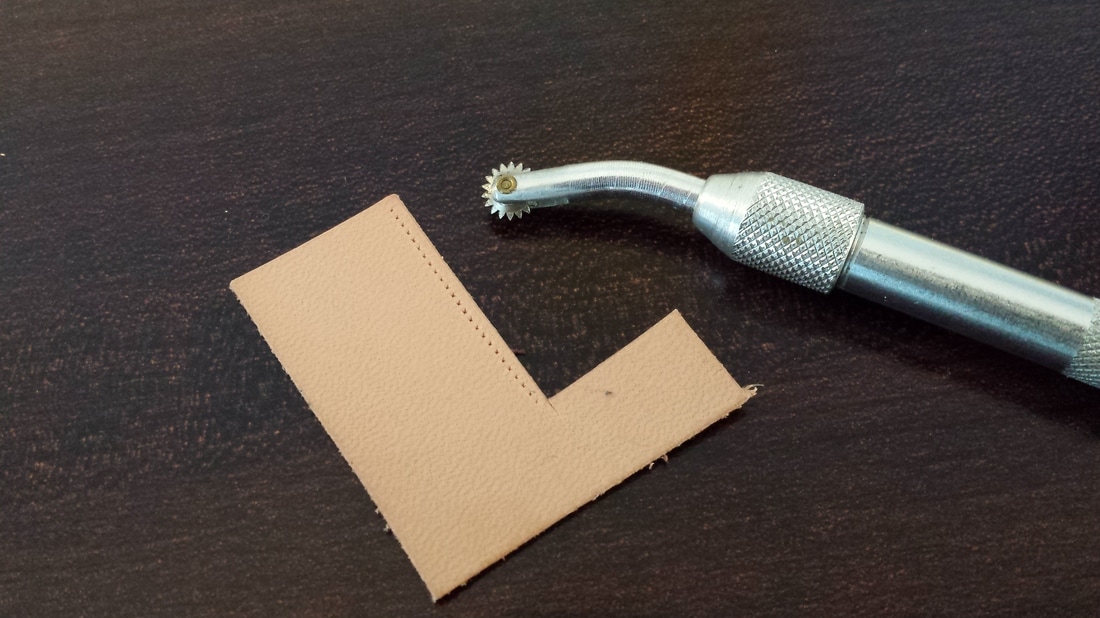 For carving out the leather design, I used a swivel blade and occasionally a craft knife if areas are too small for the swivel. The swivel leaves a nice defined cut, while the craft knife only leaves a slight line that will need more reworking. 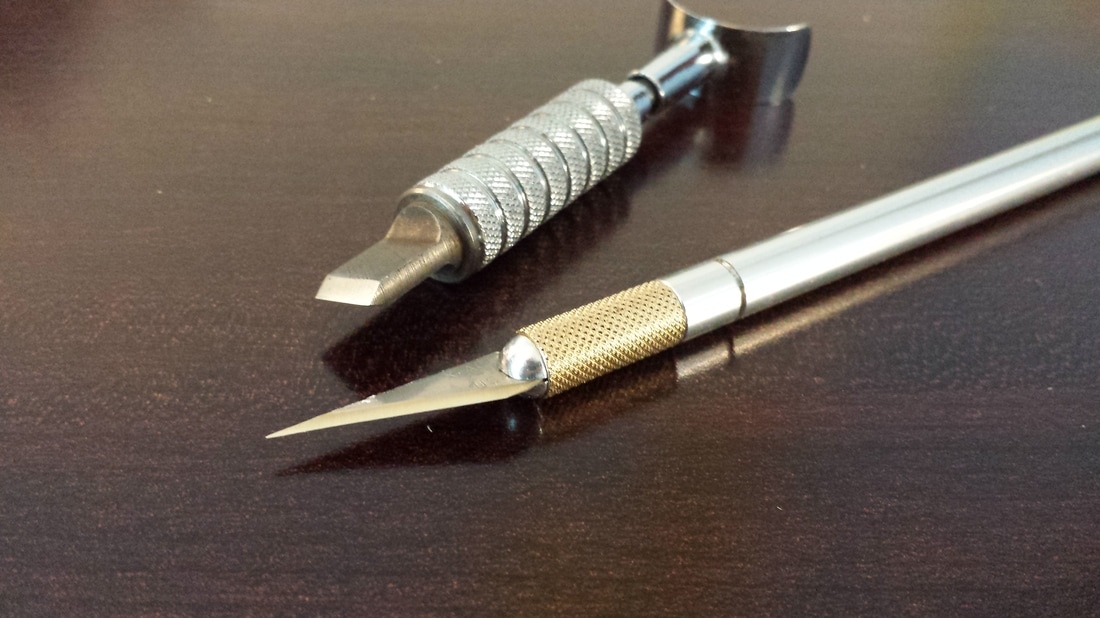 To give the carving depth, I used a ball-headed embossing tool, Tandy's B197, and an awl to define cuts and push down the background. It gives more texture and a can create natural shadows and highlights. 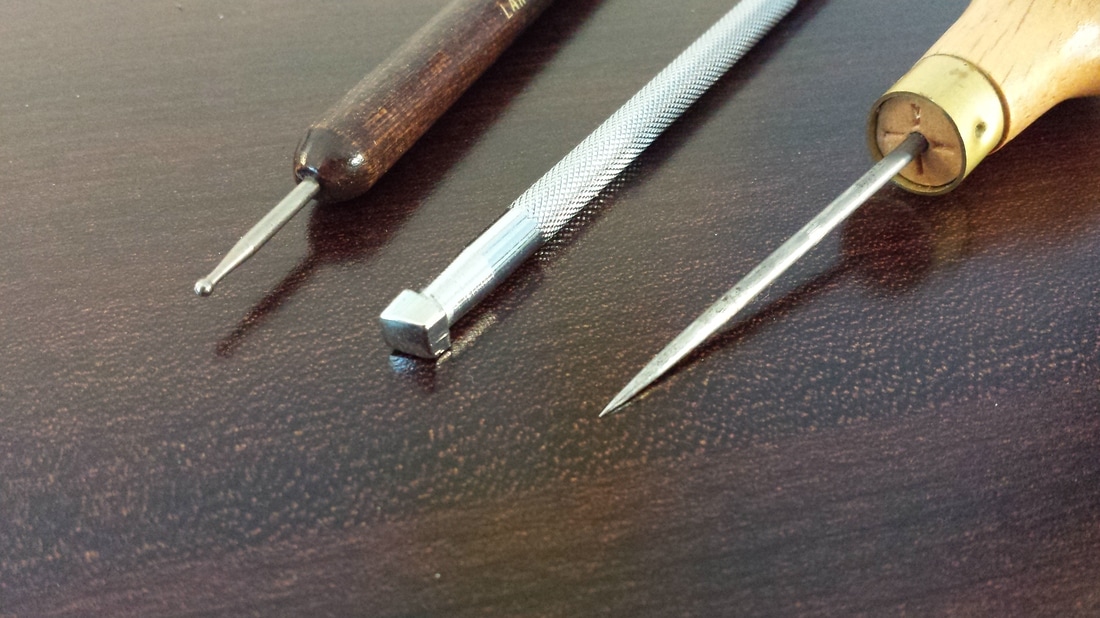 For paint brushes, I use a small little baby brush for details and a nice smooth flat brush to paint in large areas. I use these two specifically for leather. I have a bad habit of letting paint dry on brushes. It's usually not a big deal, but the leather paint never seem to want to leave. 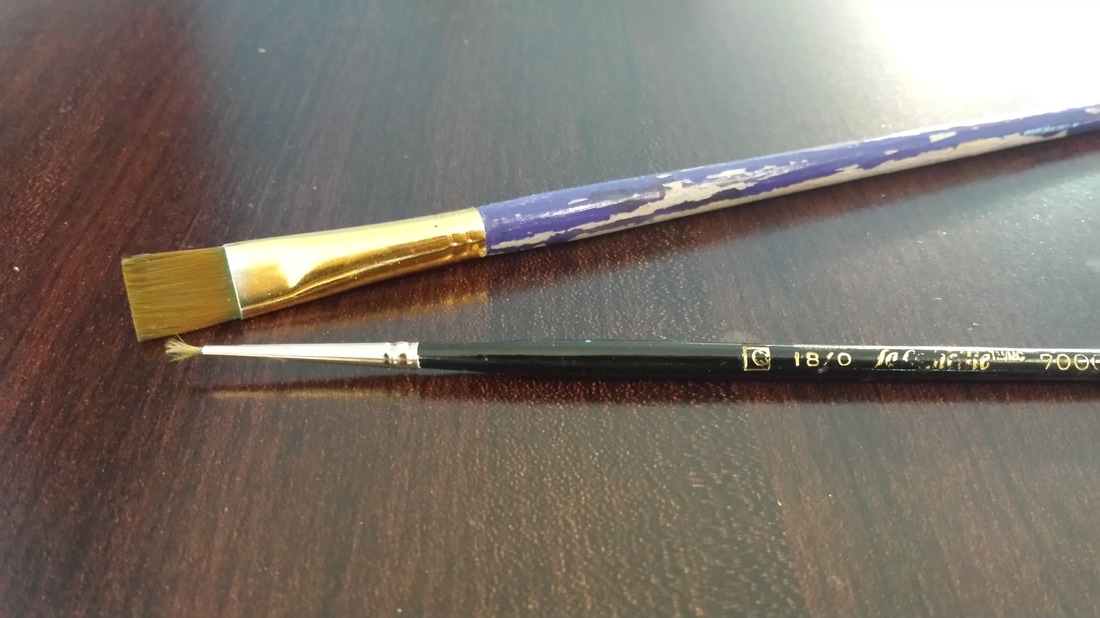 My favorite tool is my magnifying headset. The magnifying piece comes down as a visor and has multiple sets of lenses and adjustable lights. I never quite realized what was happening while painting until I got this. It allows me to see where every strand of my brush spreads the paint and it's much easier to stay in the lines. It's also very nice for making tongues on buckles and painting stablemate details. I much prefer the headset to a standard lens as the headset gives you two lenses, one for each eye. Standard lenses use just one. The problem is that I tend to lose my depth perception, which I heavily rely on for painting. You can use one lens and let your eyes adjust, but it's much easier for me to simply jump straight into my work. 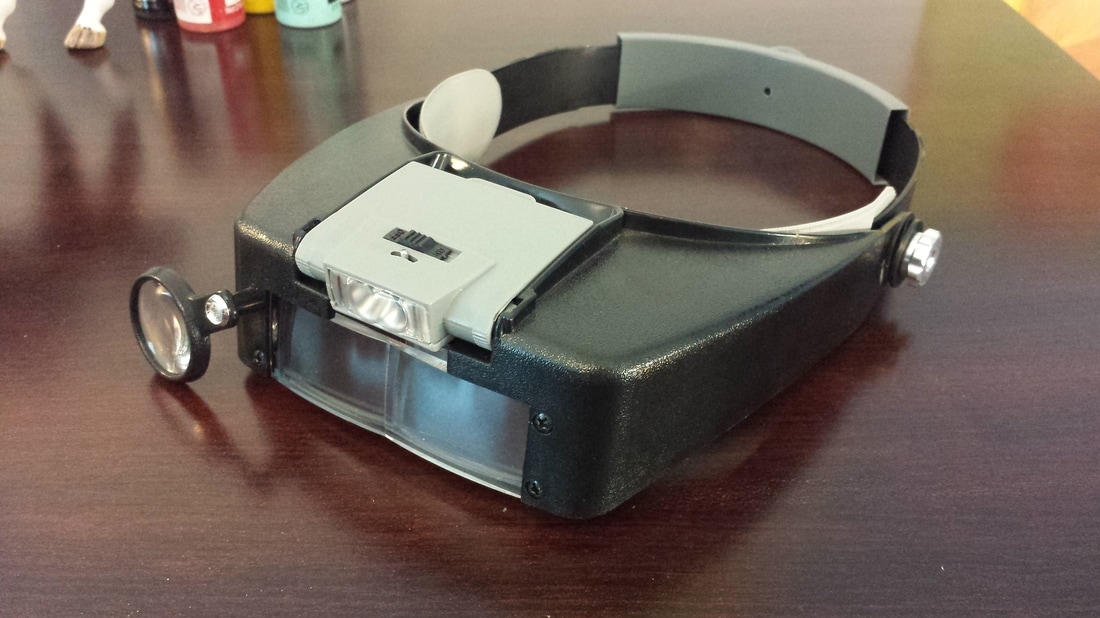 I hope this helped you! If you have any questions at all, don't hesitate to comment, PM me through Facebook, or email me. Next, I'll explain how I use these pieces to tool and paint a noseband on a bronc halter. Any other tutorial recommendations are highly appreciated. Thanks for reading :)
|
AuthorMy name is Devon Comstock. I am a tack maker in Michigan. I love bright, fun colors. In real life, I ride a Thoroughbred named Lumpy. ArchivesCategories |
 RSS Feed
