• Home
  • About
  • Tack
  • Policy & Reviews
  • Order Info
  • Blog
Sundance Studios

Adventures in Tackmaking

Painting Leather - Part Two

3/5/2017

2 Comments

 
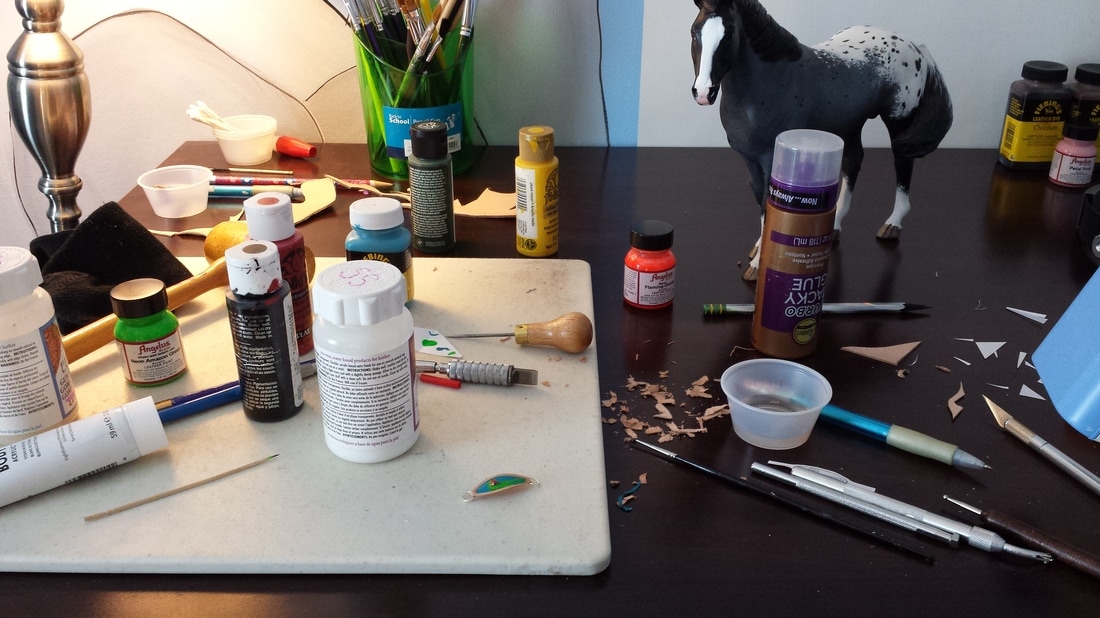
This part will be all about application and technique. I'll be describing both my painting and some of my tooling methods. For this tutorial, I'll be making a noseband for a bronc halter.

I always start with a nice piece of leather. I use tooling leather I bought from Tandy. The thinner and smoother, the better. Going to the actual store and checking out hides for yourself is always the best. Since I'm making a noseband, I was able to use a small scrap.
Picture
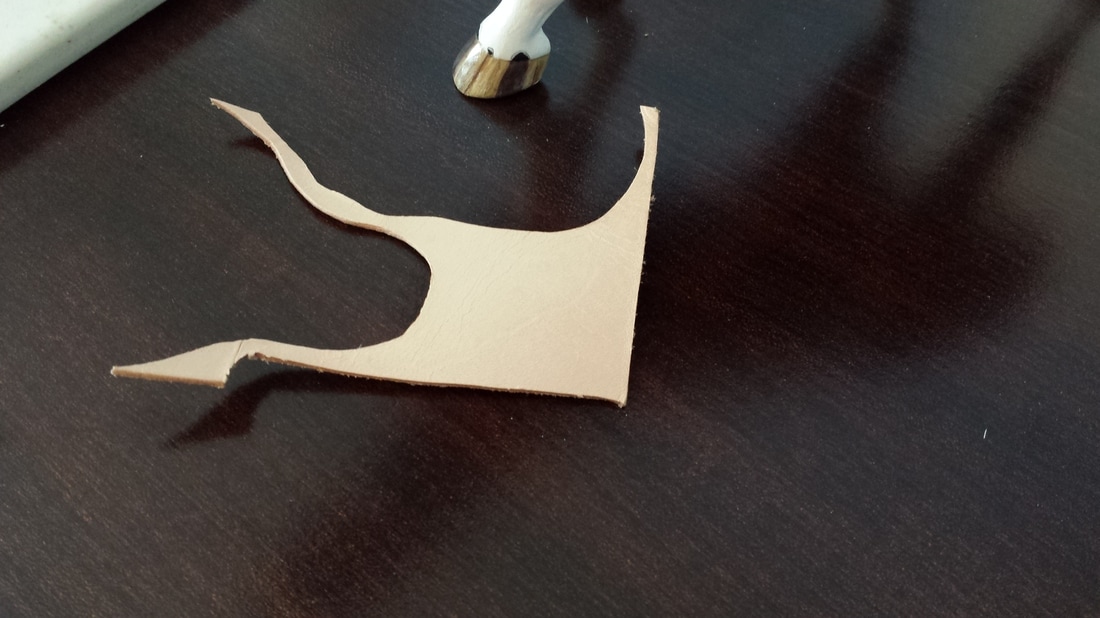
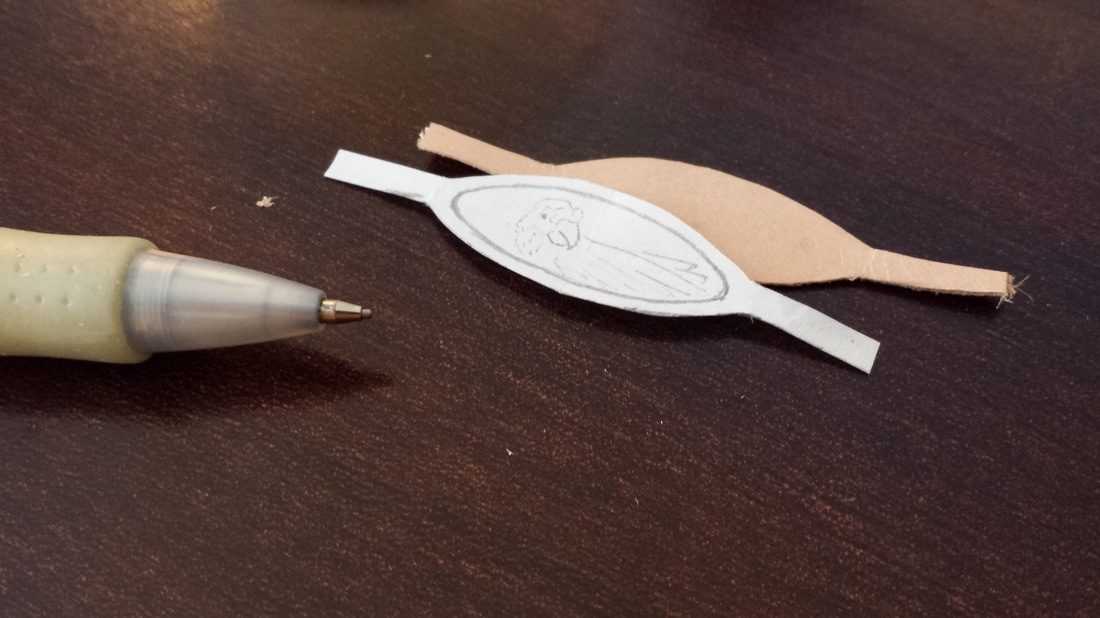
I start by tracing my pattern on the back of the leather. I use whatever is handy, but it's generally best not to use something too dark in case it shows in the final product. I try to use pencil if possible.
Picture
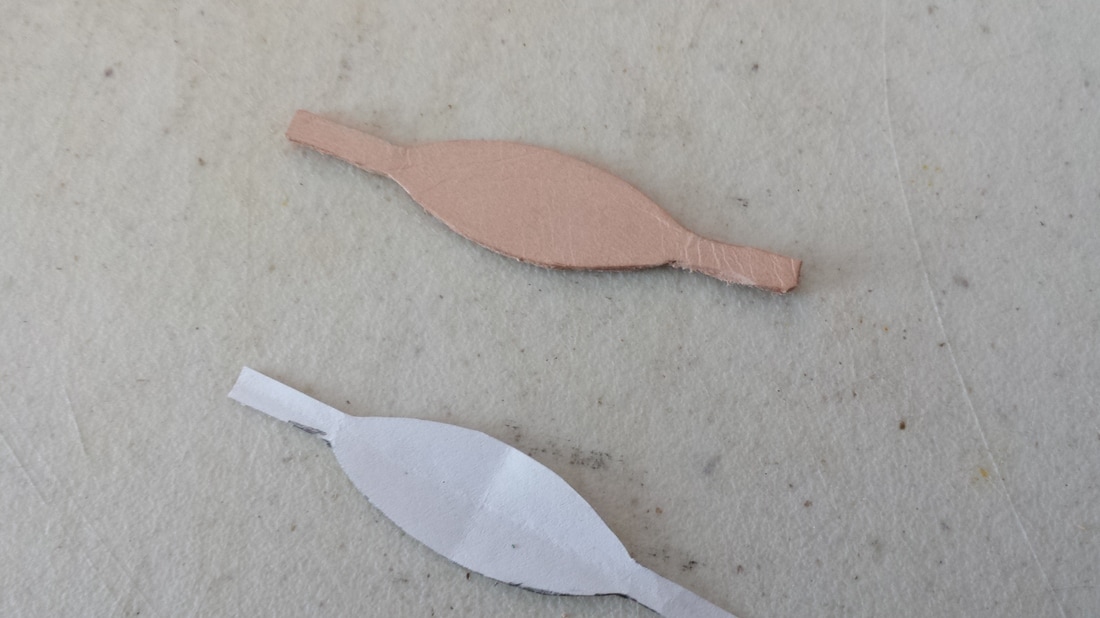
Once traced, I cut it out with a pair of sharp scissors. One of the bonuses of cutting from the back is that the scissors will naturally leave a beveled edge. If there are areas that come to an abrupt corner, you'll want to cut with a knife or you may end up denting the top layer trying to reach the corner.
Picture
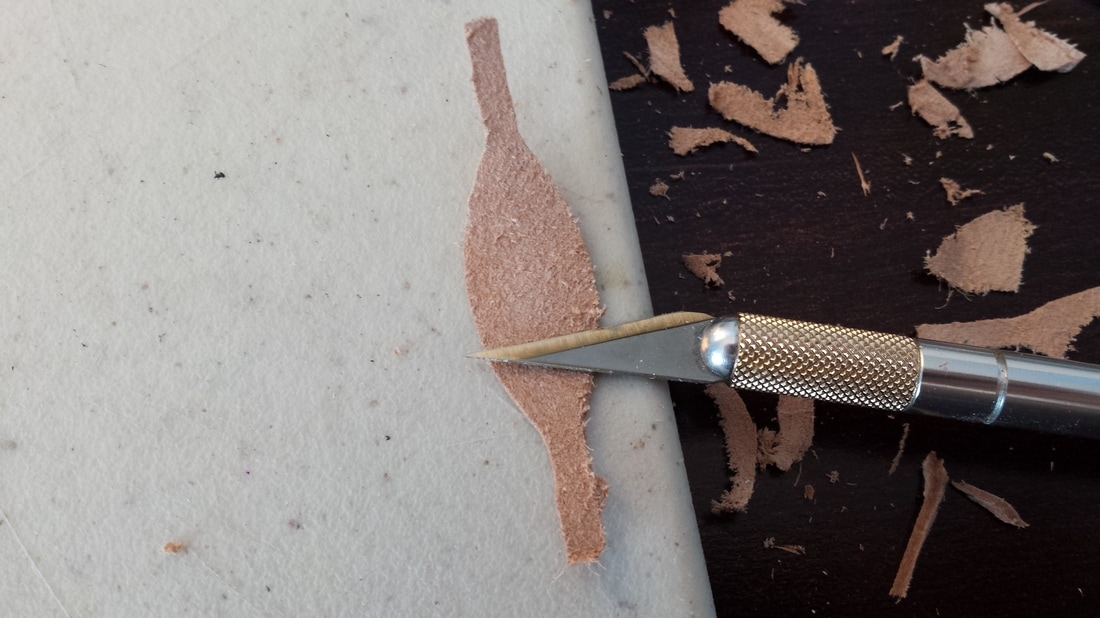
My leather was still a bit thick, so I used my craft knife to skive it by carefully skinning some of the back layers of the leather. I did this over and over until I had the correct thickness to bend over my horses nose. Also go over the strap section multiple times and bend them as if you were to attach to a halter now. The straps should easily sit pretty flat. 
Picture
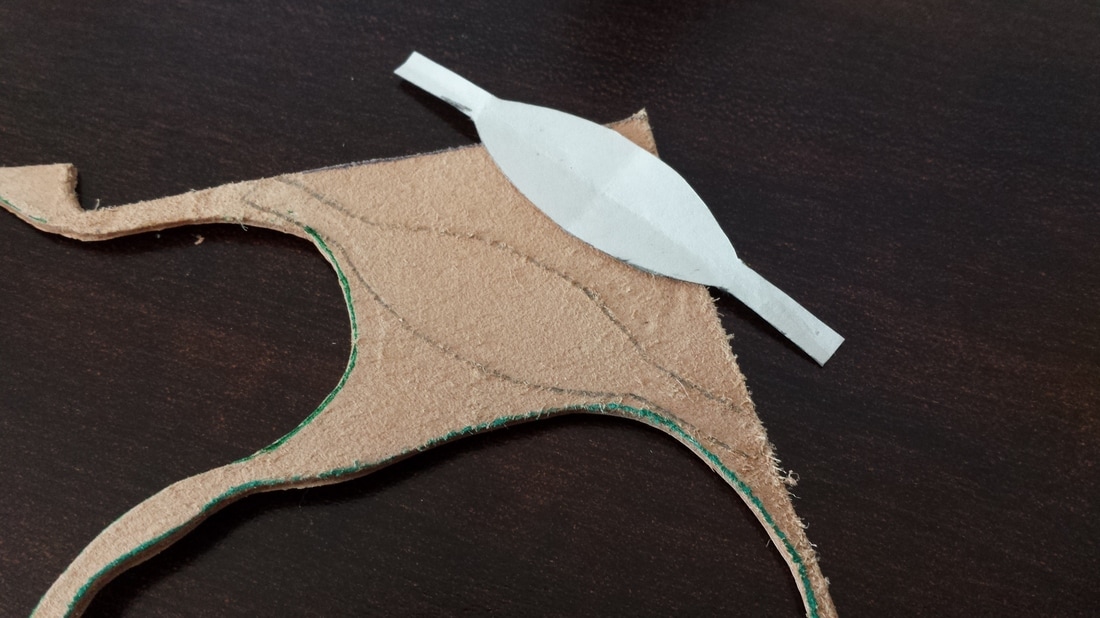
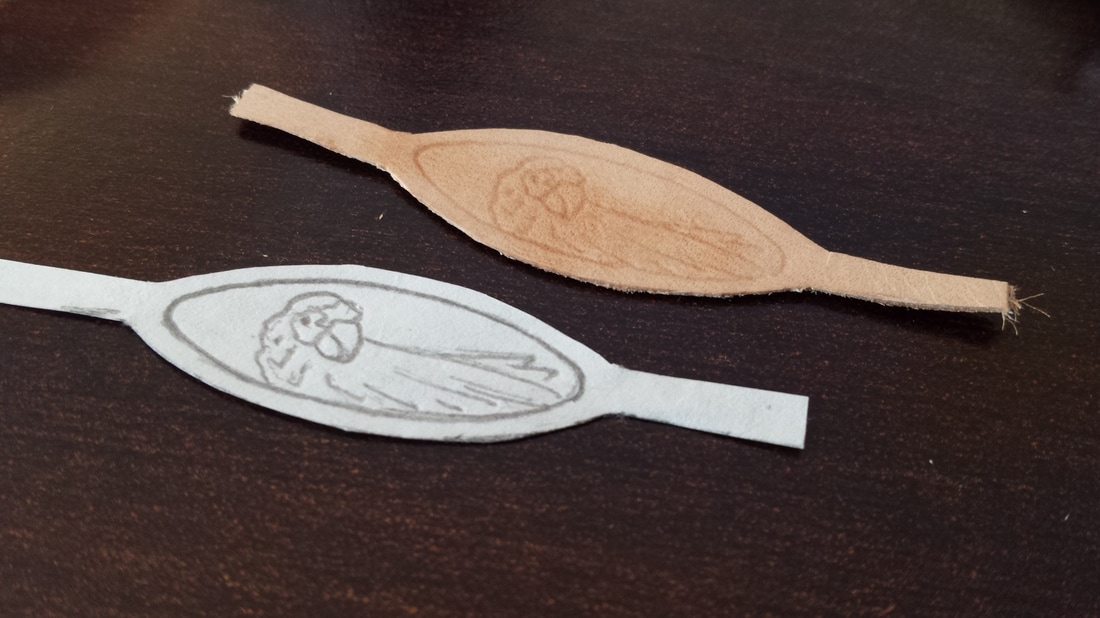
You now need a pattern to trace on top of your leather. This is what will be painted and carved later. It needs to fit just right over your leather. Anything you want in the final product should be here.
Picture
The leather is lightly dampened with a bit of water and a blunt tool such as a dull pencil, ball point pen, or embossing tool is used to trace it out. If your tracer is too sharp, you may end up ripping through the damp paper and possibly getting ink on your leather. I used a .9 mechanical pencil because I still wanted to be able to have some more crisp detail, but it's not too pointy.
Picture
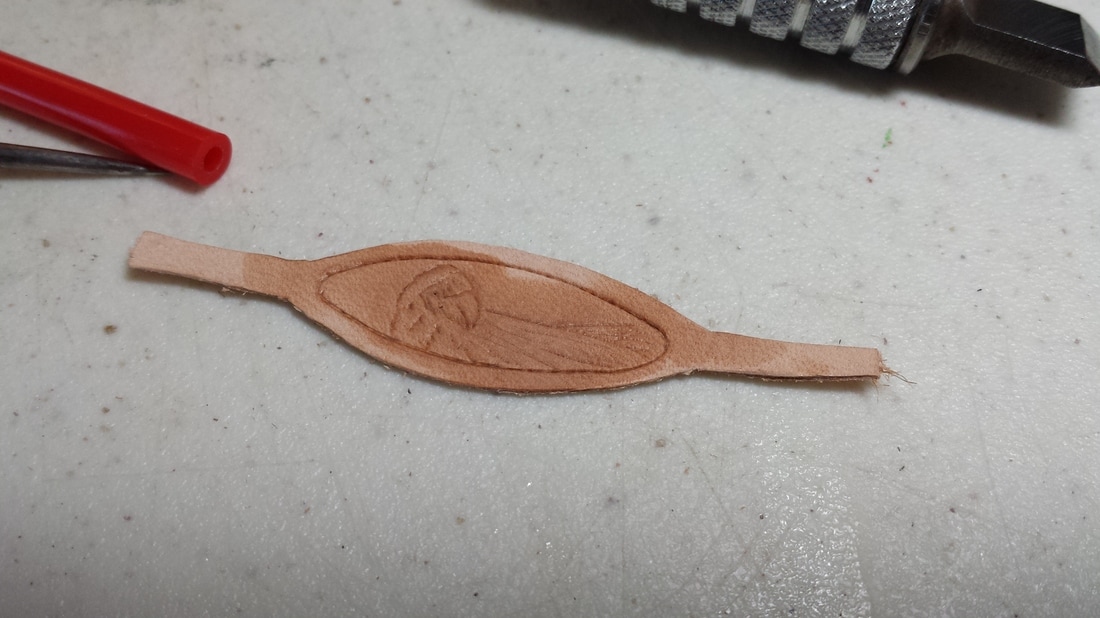
I use the carving knife to go over all designs. You want to hold it straight up and apply an even pressure. If you feel you're pushing to carve, dampen your leather again as it may have dried out. Any areas hard to reach should be carved with a craft knife to avoid accidental cuts. Always very carefully watch where you place your knife. Accidental cuts are a pain as they tend to be hard to cover up. For long carvings, one long smooth cut tends to be the cleanest. With little detail cuts, slightly wispy motions may be necessary.
Picture
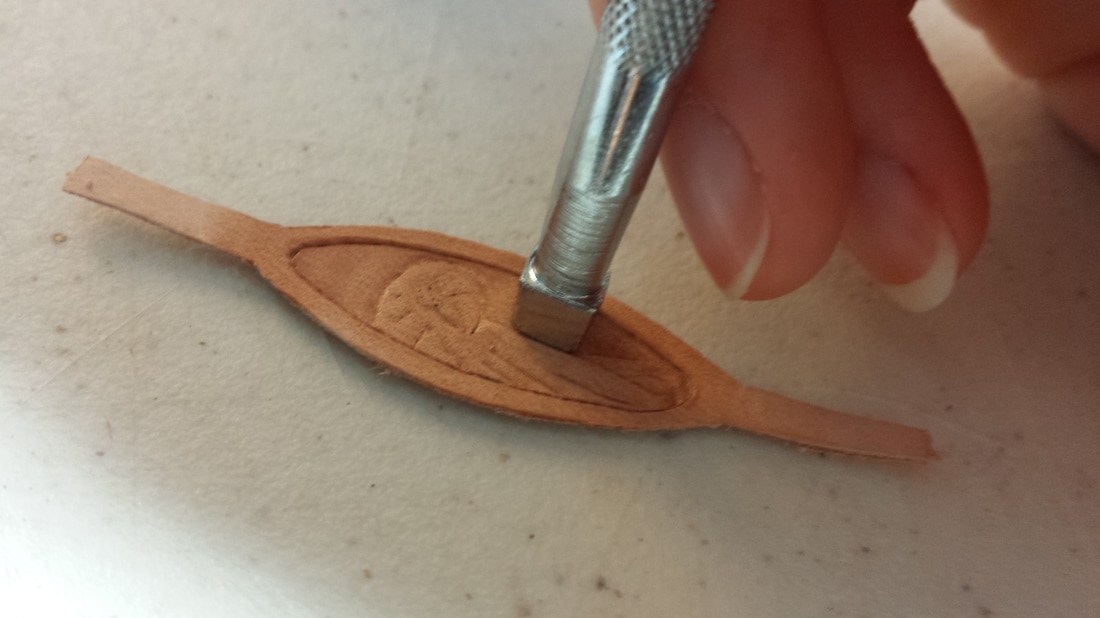
Now that all lines have been made, I go over it with my embossing tool, awl and B197. I simply smoosh the leather around to help make designs pop up. In this case, I go around the outside of the bird and inside of the border. You can either use a hammer to gently stamp around the edges, or use your hand and push down decently hard. I always like to test on scrap leather to get a feel for what I'm doing. I used my embossing tool to press down around the feathers.
Picture
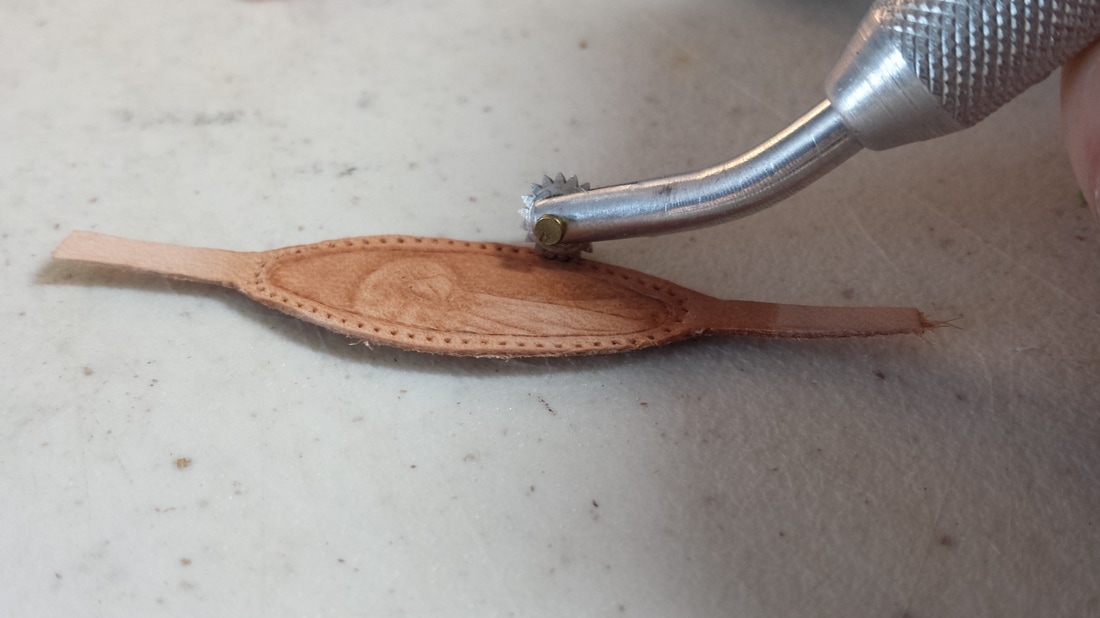
Once completely happy with your design, you'll want to dampen again and use your pounce wheel to create a stitched edge. Go slow and watch very carefully. You don't want to accidentally roll off an edge.
Picture
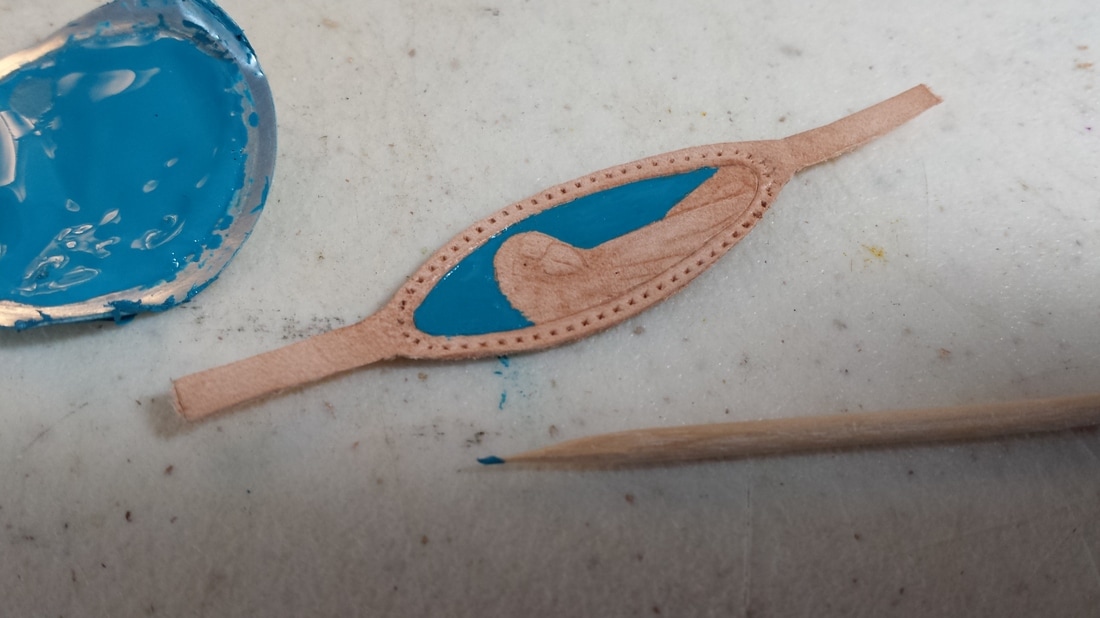
After your leather has been allowed to thoroughly dry, you can start going in with your paints. I started filling in the background with my blue Fiebing's paint. I use my tiny brush and a toothpick and magnifying headset to keep complete control over my paint.
Picture
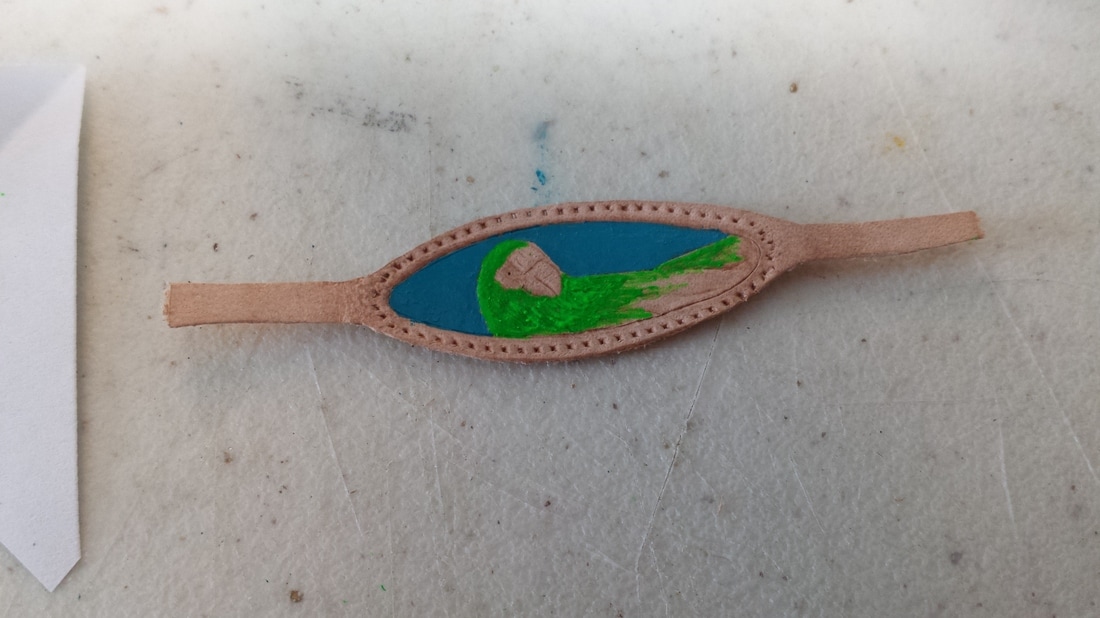
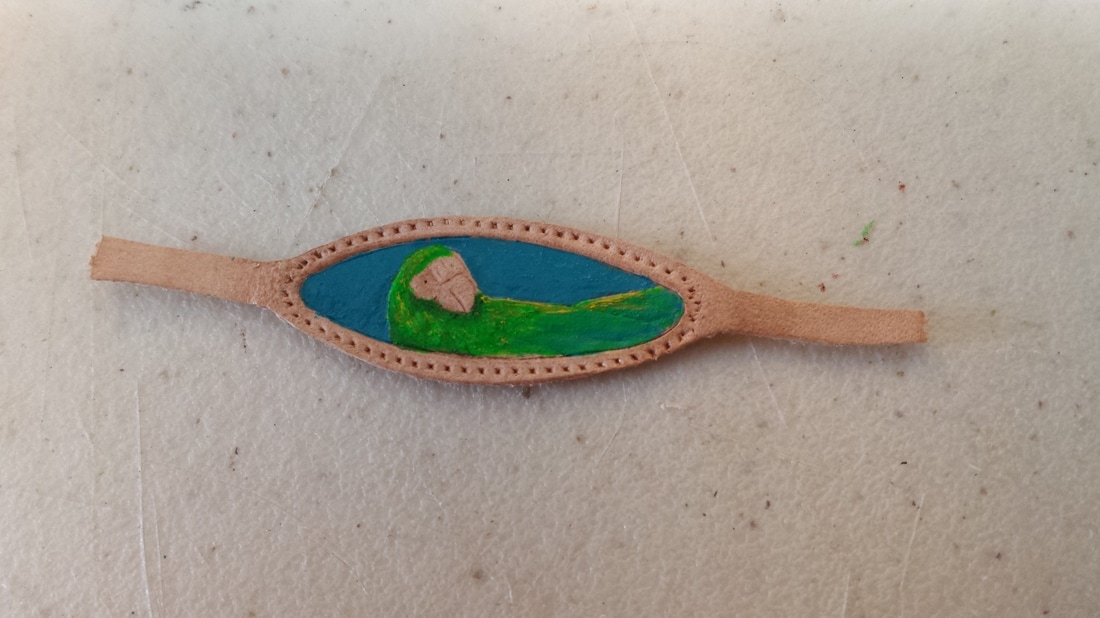
The majority of my bird is filled in with my neon green Angelus paint, still using the baby brush, toothpick and headset. As my paint dried, I was able to create some texture as it thickened.
Picture
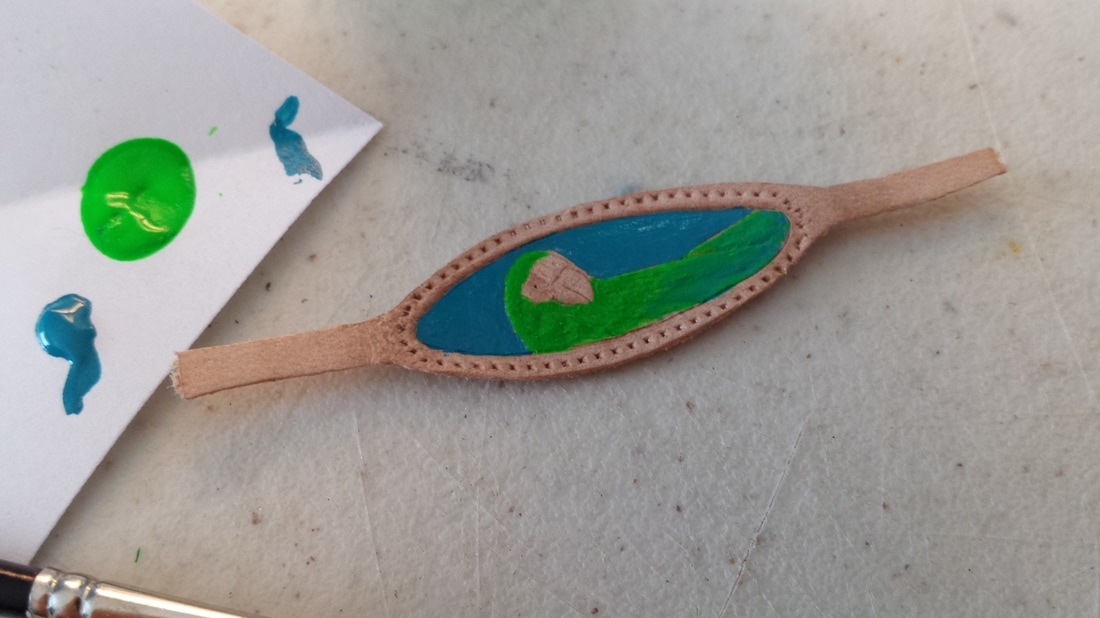
I started to work back and forth between neon green and my blue to create a blended tail. I laid down blue, and mixed in green over and over until I liked what I had. Take your time. Brushes are best for the blending as opposed to the toothpick, especially as paint begins to thicken.
Picture
Now I've shaded the bottom of my bird with a touch of Thicket green acrylic paint and also mixed in some nice bright yellow. This started pretty ugly, but I kept working back and forth between neon green, yellow and thicket until I found a nice balance.
Picture
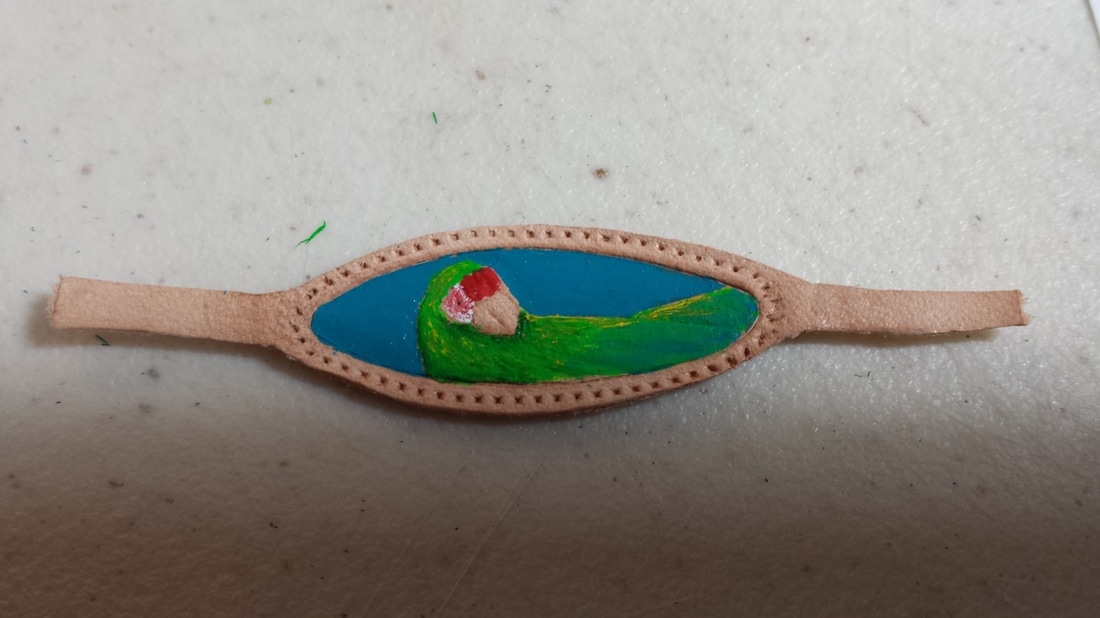
I used a toothpick to paint the red feathers above the beak. It felt a bit too dark, so I mixed some neon orange into the top to add some texture and depth.
The area around the eye was done with a stippling motion. I placed some red, then some white. I worked between both, continuing to stipple, until I had a nice pattern. 
Picture
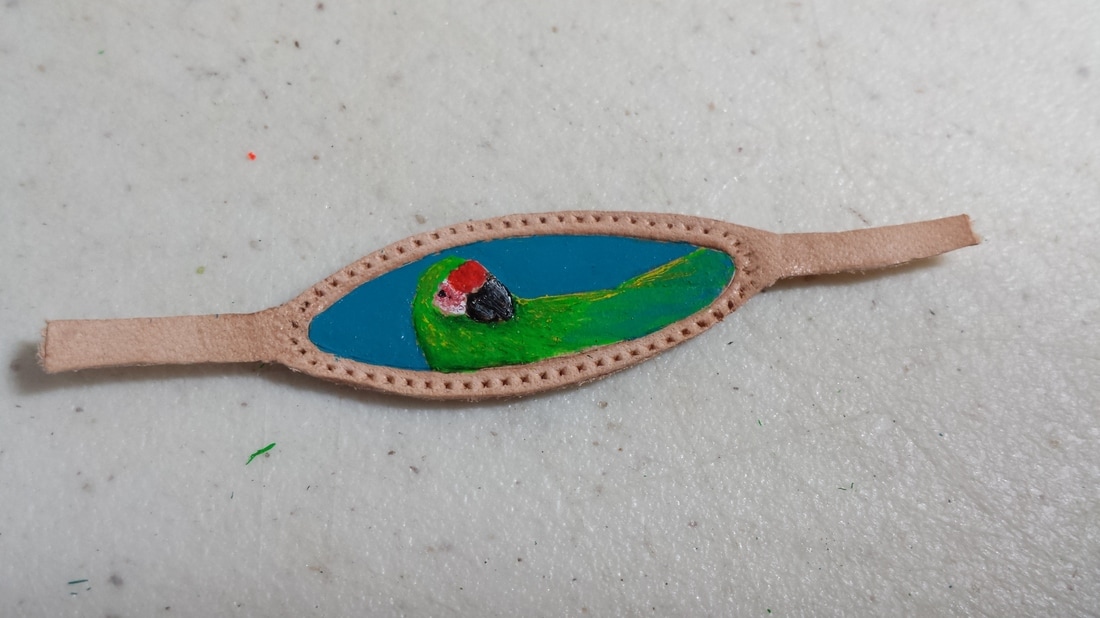
The beak was also another area that started pretty ugly. I painted it solid metallic black, then put white over the top edge. I used the same technique as with the green/yellow/thicket and green/blue feathers. I went back and forth with my paint brush to give it depth. I also gave him an eye with my toothpick.
Picture
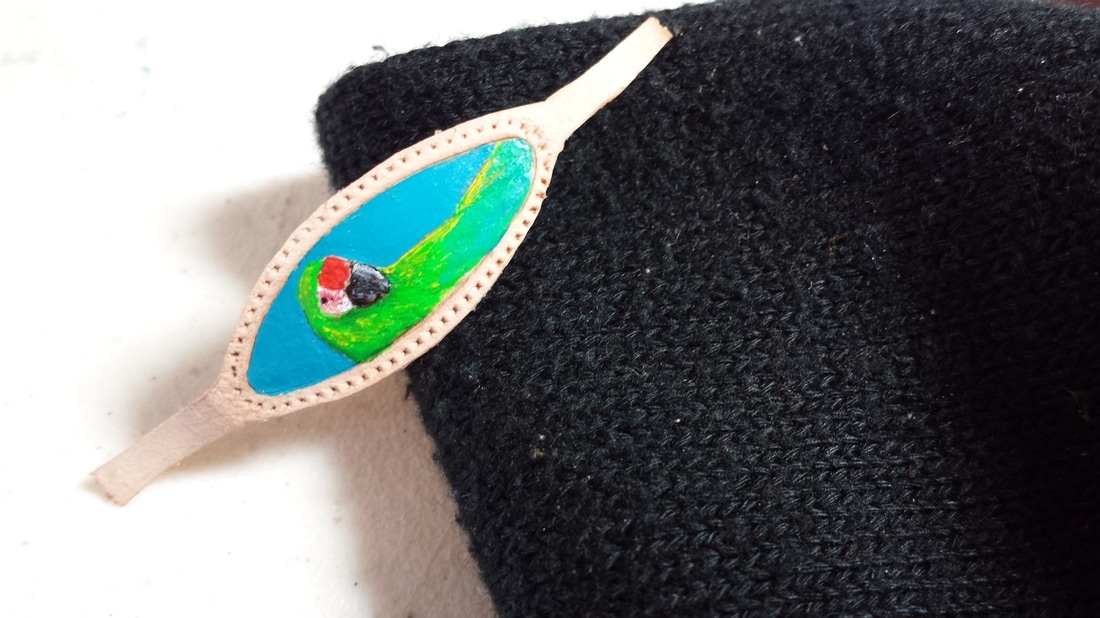
Once thoroughly dried, I went over it all with a super soft sock with some Satin Shene. I applied a little bit of Gum Tragacanth along the edges as well to help cure the fuzzies. 
Picture
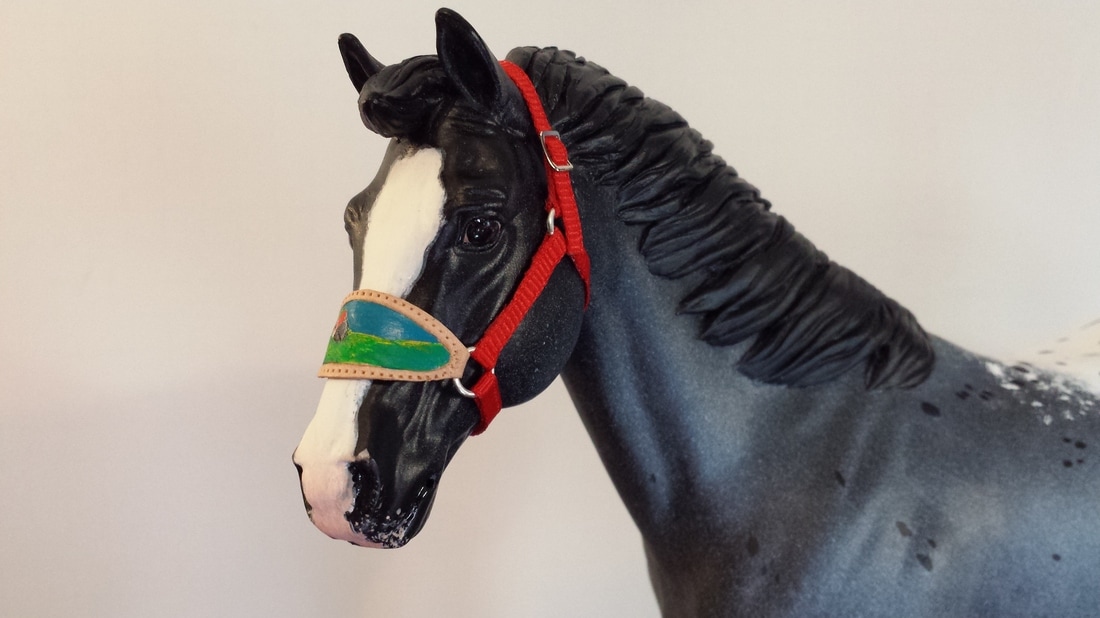
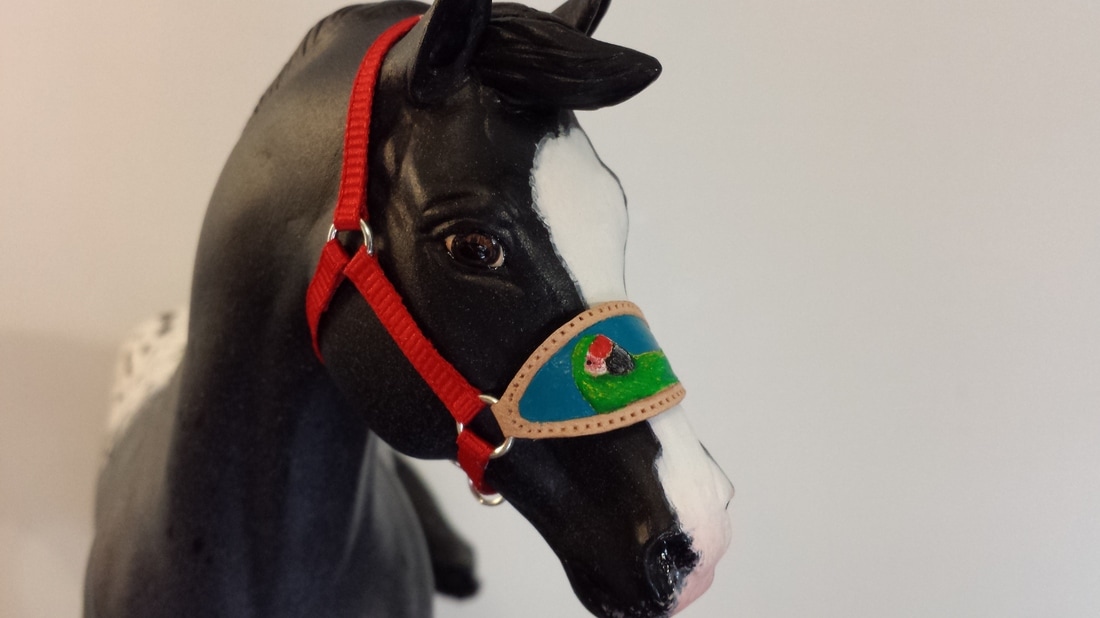
Now you're done! You should have something that looks like this:
Picture
And this too :) 
Picture
Picture
And now we're done! I really do hope you guys found this helpful. If you have any questions at all, don't hesitate to contact me and ask :) If there's anything else you'd like me to create a tutorial on, let me know!

This halter is also for sale. I'm asking $30 + shipping for it. Please let me know if you're interested. Thanks!
2 Comments
Sarah link
4/14/2017 06:36:12 am

Hello!
I enjoyed reading this blog post! The information about painting the leather was very useful and that halter looks especially lovely on that appy Idocus. He's a familiar face- came from my studio a couple of years ago!
-Sarah

Reply
Emma Lennon link
8/18/2019 07:48:52 pm

i love the tack and horse

Reply


Leave a Reply.

    Author

    My name is Devon Comstock. I am a tack maker in Michigan. I love bright, fun colors. In real life, I ride a Thoroughbred named Lumpy.

    Archives

    March 2017

    Categories

    All

    RSS Feed

Powered by Create your own unique website with customizable templates.
  • Home
  • About
  • Tack
  • Policy & Reviews
  • Order Info
  • Blog